One thing that people tend to be unaware of is the possibility of restoring nonstick pans. Yes, even when you think that your nonstick frying pan is past its best, there are still solutions to get it back to its former state.
That raises the question of how to restore a nonstick frying pan so that you may enjoy it once more.
So, how do you make your frying pan non-stick again? Read on and learn different methods on how to restore a frying pan!
Recoating a Nonstick Pan
The first thing to know is that a nonstick pan can be recoated. In general, nonstick pans will last for anything up to five years before the coating on them becomes old and faded. Of course, this will depend on how often you use the pan and how you clean it, so that’s just a rough guide to what you should expect.
But the good news is that you can recoat that old pan and do so in a relatively short period of time. It’s going to be a lot easier than you perhaps imagine.
Why Should You Bother?
It’s perfectly understandable if you find yourself sitting there wondering why you would even bother going through this simple process of trying to recoat frying pans. After all, you may have purchased one that says it has a lifetime guarantee, and that’s great.
However, the special coating that comes on new pans is not as good as the manufacturer will make out. Sure, it’s going to last some time, but if you deep clean it regularly, then food will eventually stick. This is still possible even if you know how to season your frying pan to make the nonstick feature last longer.
What then happens is you add more oil to your food to stop it from sticking and give the surface some coating, but that’s why you bought nonstick pans in the first place.
But now, onto the methods.
Method 1: A Special Mixture
The first method we will look at for recoating a frying pan or a nonstick pan involves a special mixture that you can create at home.
To do this, you need a few simple ingredients. This includes baking soda, some water, and some white vinegar.
What you need to do is to mix a cup of water with a couple of tablespoons of whichever baking soda you have to hand, and finally throw in just half a cup of white vinegar.
This solution is held inside the pan, and you need to put the pan on the cooker. The idea here is that you allow the mixture to come to a boil. After that, you need to effectively allow it to cook for around 10 minutes over medium heat. This will help provide a new non-stick coating that will extend the lifespan of the pan.
But that’s not all you need to do.
Instead, you must also then season the pan and do this regularly. To reseason your nonstick pan, you should look at using vegetable oil. You can rub this straight onto the surface of the pan. However, make sure that the surface of the pan is at least around room temperature. A cold pan will not work as well.
As mentioned above, rubbing oil on the surface on a regular basis will help extend the lifespan of the mixture you created. However, it’s not the only method.
Seasoning Nonstick Pans
One of the best things you can do when caring for your nonstick pans is to season them. One of the best approaches is to use oil, but how much you use it does depend on the type of oil.
Using Peanut Oil
You need to deep clean the pan before you think about seasoning it with oil. We do recommend using the method noted above with the tablespoons of baking soda and vinegar mix. It does an amazing job.
Once it has been cleaned, you can add a healthy covering of peanut oil to complete the recoat process with your pans. The key here is to make sure that it covers the pores in the pan, as that’s how you will prevent food from being able to stick. Newer pans don’t have these pores, as their coating makes sure of that.
However, after adding the oil, place your pans on high heat for between one to two minutes. Then, let your pans cool before using a kitchen towel to remove any excess oil. Finally, please give it a quick wash, but don’t be too harsh and only use a soft sponge.
Using Coconut Oil
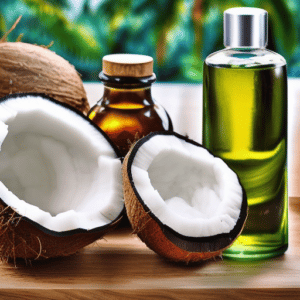
Coconut oil is different in that you must take another approach to get the best results. Get your nonstick pan on the heat, but keep it relatively low. You also want to get your oven fired up and have it around 350 degrees.
Next, get some coconut oil, but not too much. Smear it all over the pan’s base, which is why you don’t want it too hot, so the oil spits all over, and make sure you cover the pores. The maximum layer you should have is around one inch, but keep in mind that this oil is pretty solid, so it’s easy to do that.
After you have applied this, please place it in the oven for somewhere in the region of two hours. This will allow the coconut oil to be effectively baked. Once the two-hour mark has been reached, switch off the oven, but leave the pan alone.
Ideally, it would help if you left your nonstick pan in the oven for the entire night and only thought about dealing with it the following day. At that point, you can then use it as normal, as the coconut has created a new layer.
Oils to Avoid
We have mentioned two types of oil, but not every oil will be suitable for adding this new coating to your pans.
Oils that have a low smoke point should not be used. That means olive oil is out of the question, and so is nut butter if you think that it would be a good idea.
They are only going to burn when you put that oil into the pan. The cooking process changes them, and it will damage the surface rather than stop food from sticking to the surface.
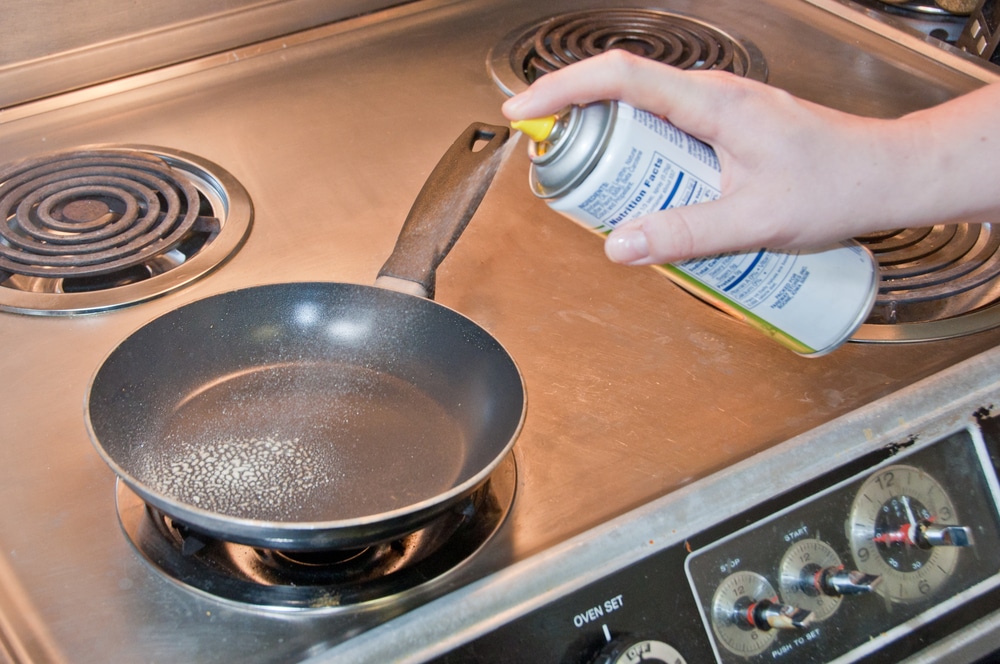
Method 2: A Spray Coating
If you look in a number of stores, both online and stores that specialise in kitchen equipment, then you may come across a recoating spray. This will be perfect when it comes to treating your nonstick cookware, as you do know that it has at least been manufactured for this exact reason.
But even with this, you need to know how to use it correctly.
It would help if you began by making sure that there was no food sticking to the surface of the pan. Giving the pan a deep cleaning is essential, and then you need to make sure that everything is absolutely dry before moving on to the next step.
Make sure that you use a reasonable amount of the spray to get the same nonstick quality you saw with your pots and pans when they were new. Then, it would help if you left the pan alone for around half an hour before you even think about going onto the next step.
With the next step, you need to get your oven up to high heat—something in the region of 475 degrees or gas mark 9. It would help if you let it get up to that heat for around 10 minutes before you think about adding the pan.
Then, you must leave it there for between 30 to 45 minutes. At that point, turn your oven off.
Here, it would help if you allowed your nonstick pan to cool down all on its own. Don’t open the door, and if you need to leave it in your oven overnight to cool, then do so.
Once it has cooled right down, you need to wash it, but be careful with your new nonstick surface. Only use some dish soap, and make sure you have a soft sponge to hand.
Method 3: Using Salt
This trick using salt is something that has taken the Internet by storm, but it’s not something just made up for views or followers.
Instead, even professional chefs will swear by the fact that salt can be used to recoat a frying pan that has managed to lose its nonstick quality.
Before we get to the trick, you need to wash the frying pan with warm water and make sure it’s clean. You don’t want any remnants of food left on there as that will ruin everything.
Once you have cleaned it, you need to get your hob and turn it up high. Let the heat build, place an even coating of salt over the bottom of the nonstick pan, and place it on the heat.
You are looking for the effect that the salt will basically burn, and you are then left with something that resembles brown sugar. However, don’t stress, as that’s what you are looking for with this entire process.
Leave this burnt salt for a few minutes, and then empty it down the sink. Your frying pan has now been recoated, but do get a cloth and dampen it to remove the excess salt that has perhaps been left behind.
Restoring to Their Former Glory
As you can see, there are several ways to recoat your non-stick pans, and each one mentioned above should work to a certain extent. However, do be careful with the kitchen utensils you use on your pans, as they will damage the surface in next to no time. Only ever use nylon or other soft utensils.
Metal will scratch, and also take care when you go to wash the pan. Never use steel wool or anything else that can scratch the surface. If you do use those items, then recoating nonstick pans will become a permanent fixture, and who wants to keep doing that?
There’s no reason for you to throw out your pots or pans simply because food can stick while cooking. Instead, use one of the methods above and see how you can bring things back to life.