From roasting to baking, ovens tend to play a crucial role in our kitchens daily. However, it’s wise to keep in mind that the accuracy of an oven’s temperature is always essential since it correlates to the quality of your home baking needs.
If your convection oven becomes too hot when cooking, your food may burn. On the other hand, if the temperatures are below the recipe recommendations, your food might be undercooked. Unfortunately, convection ovens may have temperature variations occasionally since their temperature sensors are designed to adjust their temperatures from low to high at different intervals. But they can also offset the actual temperature that you set initially.
Well, if your convection oven has a habit of offsetting itself, worry not. In this article, we’re going to take a look at how to calibrate an oven thermometer. Read on!
What is Oven Calibration?
This is the process of resetting the temperature of an oven so that it maintains temperature accuracy during cooking. In every oven, you can perform a calibration process that will eventually allow you to keep it at a stable and accurate temperature. Moreover, most ovens can be calibrated up or down 30-35 degrees.
Requirements
- Oven Thermometer
- Needle Nose Pliers or Screwdriver (Knob Style Only)
- Oven’s Manual – Print or Digital
The oven’s thermometer will be used to check the temperature inside the oven. At the same time, the Needle Nose Pliers or Screwdriver may come in handy if you have a knob-styled oven. Please note that electric ovens tend to be more accurate than their gas counterparts, with that in mind. Also, a digital thermometer with a probe gives more accurate readings than a basic oven thermometer.
Simple Process: Finding the Offset
Before recalibrating your oven, it’s always wise to know how incorrect its temperature reading is – this is what is known as finding the offset for your oven. This process can be simply done using an oven and a thermometer.
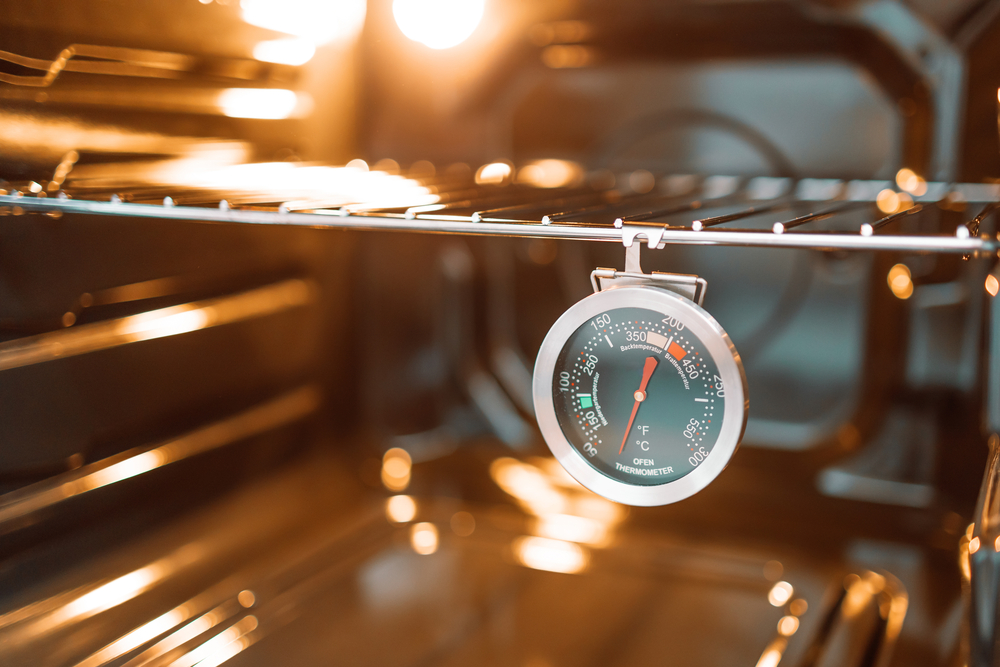
Step 1: Place a Thermometer in the Oven
Place the metal thermometer at the centre of your oven using an oven rack. Ensure that you can easily read the thermometer once you close the oven door.
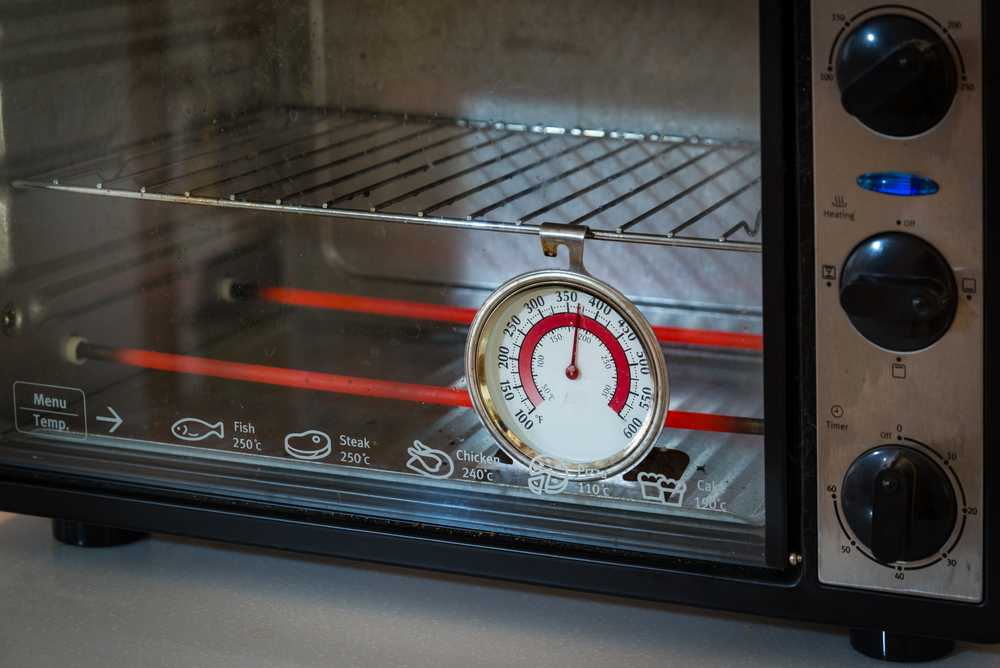
Step 2: Set the Oven to 350°F or 180°F
Now turn it on and set the oven’s temperature to 350°F or 180°C using its controls. Once this is done, please wait for the oven to reach its appropriate reheat time for it to reach its intended baking or cooking temperature.
Step 3: Do the Math
Proceed to check the thermometer. If your oven temperature reads more than 350°F or 180°C, your calibration offset should be (-) until the temperature drops to 350°F or 180°C. However, if the temperature reading is below 350°C or 180°C, your calibration should be (+) raised until the temperature increases to 350°F or 180°C.
In simpler terms, if your oven is at 375°F or 195°C, the offset should be -25 degrees to achieve 350°F or 180°C. On the flip side, if your oven’s temperature is at 325°F or 155°C, the offset should be +25 degrees for your oven to reach 350°F or 180°C.
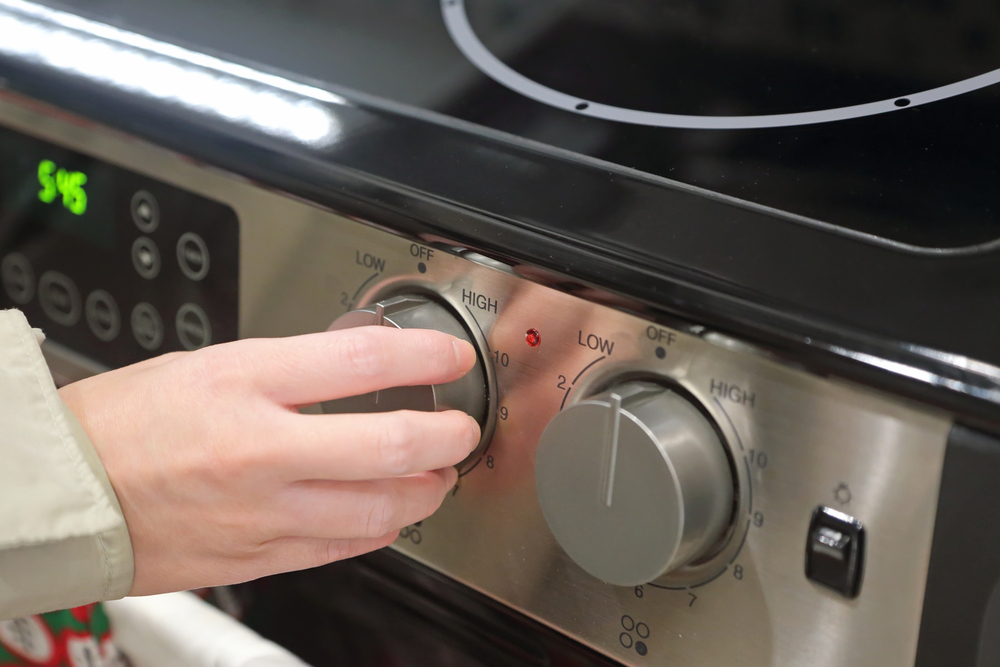
Method 1: Calibrating Your Oven Temp with Buttons
Here’s how you should recalibrate your oven’s temperature if it has a touchpad button control panel
Step 1: Look Up Your Oven Reset Process
Before you begin calibrating your oven, it’s always essential to consult the oven’s manual. If you don’t have one, you can look it up online on the manufacturer’s site. The user guide or instruction manual comes with a set of instructions that should be used when calibrating your oven. Bear in mind that this process requires two straightforward facts. You need to press the right pair of buttons on the oven’s control panel to trigger the reset function, for starters. Secondly, you need to key in the number of seconds required and any other procedure suggested by the user manual.
Step 2: Press and Hold Until Reset Message Displays
Proceed by pressing and holding the designated buttons at once. Keep in mind that many times, the timer or the bake and oven light buttons are commonly used. Press and hold the designated buttons for approximately 10-15 seconds.
Once the digital display changes to a reset message that may be written as “SF” OR “F TempOffset” or “0 F CAL” or “00.” You will be required to press a confirmation button according to the manual guide.
Step 3: (+) and (-) to Calibrate Offset
Once you see zeros or a double-digit display on the LCD of your control panel, you’re required to use the minus or plus buttons to correct the temperature of your oven, as we mentioned earlier. Once you have completed the settings, press the start key to lock in the settings. This will, in turn, store the changes in your oven’s internal memory and then exit the calibration setting mode.
Method 2: Calibrate Your Oven Temp with Oven Temperature Knob
On the flip side, if your oven uses knobs to key in different functions, here’s how to calibrate your oven temperature. However, bear in mind that you may be required to perform more accurate twisting and turnings.
Step 1: Remove the Temperature Control Knob
Start by pulling the temperature-setting knob off its post. This should be quick if no screw or latch is used in holding it in its position. Once the knob is out, you can wash it thoroughly, especially if it’s sticky.
Step 2: Mark the Original Position of the Knob
Ensure to mark the original position where the knob rests if the oven is not in use. If yours is clearly marked, then you’re good to go. Keep in mind that the factory’s default calibration is generally at the centre, which is usually at 0 degrees offset. Once you find the offset in your oven, it’s time to calibrate it.
Step 3: Calibrating the Twist the Knob or Post
Before you begin to adjust the knob or post of your oven, ensure that you take a look at the back of the knob. If the knob has a metered arrow or pointer in the centre, then that is your calibration. Once you have found your calibration point loosen any fastening screws of the knob but don’t remove them. And proceed to twist the pointer colder or hotter. The notches will probably indicate 10 degrees per turn. Calibrate the offset and retighten back the screws
Step 4: Return the Knob
Return the knob back onto the post and ensure it’s securely fitted, and that’s it.
How to Check for Hot Spots in an Oven
Hot spots are the areas in an oven that are usually hotter than others, and they typically tend to cook sections of food faster than others. Hot spots commonly lead to uneven cooking of meals. Here’s how to check for hot spots in your oven.
Using a rack, place a thermometer at the centre of the oven and set the oven at 350°F or 180°C degrees. Let your oven come to a temperature. Measure the temperature inside your oven and record it.
Now place the thermometer at different angles (front, back, left and right sides) and measure their temperatures while recording the down. If you find some of the temperatures to be lower or higher than 350° F, then that’s the hot spot of your oven.
Ensure that all temperatures are recorded without opening the oven door for precise accuracy. You can use the oven window to view the thermometer for every side you will be testing. Repeat this process for every angle.
Now that you are aware of the areas that may cook or bake food unevenly in your oven, you can now make better decisions about where you will be placing your baking dishes and pans for consistent results.
Cook Safely With an Oven Thermometer
Now that you know how to calibrate an oven thermometer, it is time to put your newly gained knowledge to the test. Remember, before you start calibrating your oven read the manufacturer’s instructions for your appliance, then calibrate.
That’s all there is to it! Now you can cook safely and trust the temperature displayed in your oven. Happy baking!