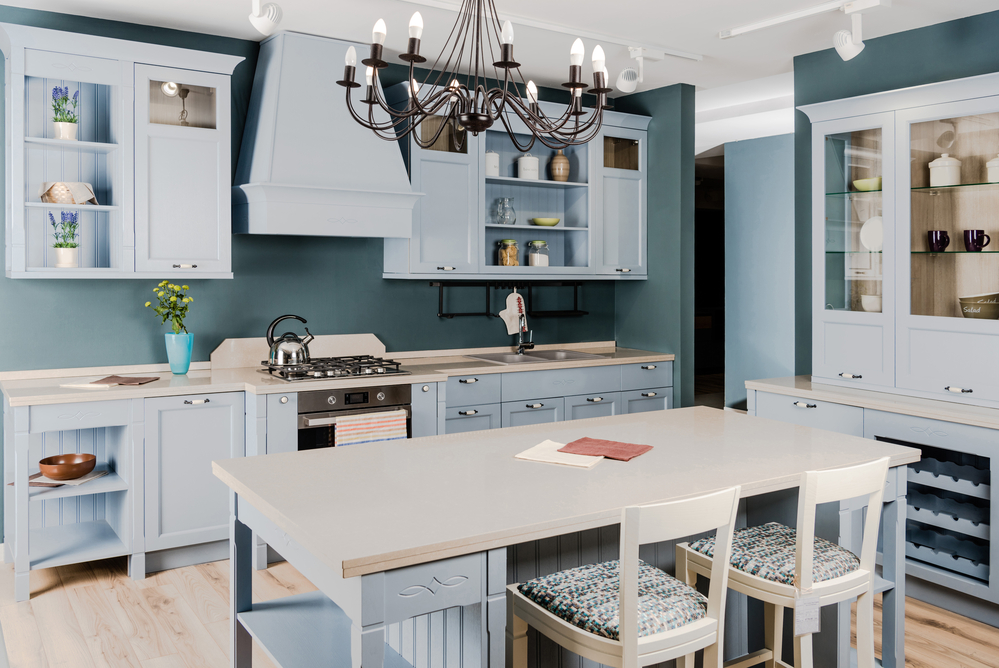
Buying a new kitchen table or coffee table is expensive! It is also not the most eco-friendly solution. Instead of saving for a new table, why not have an upcycle kitchen table instead?
Upcycling is the process of modifying and reinventing a product so that it appears brand-new and may still be put to use. In this guide, we look at how to upcycle a table so you can breathe fresh life into your furniture without spending a fortune on a new table so you can enjoy a cup of coffee to start your morning comfortably!
Prefer to watch a video? We got you covered.
A Simple Method and Top Tips on How to Upcycle a Dining Table
Step 1: Prepare the Tabletop
The first step in how to upcycle a table is preparation. We advise detaching the tabletop from the legs. If you try and work on the table as one piece of furniture, you can risk spilling paint on unintended areas.
Hopefully, you should remember how to detach the legs: this is often a simple case of unscrewing them from the tabletop.
You should also use masking tape to cover any metallic parts like hinges, bolts, and screws on the underside of the table. This makes sure that they do not get accidentally painted.
If you are painting the tabletop with chalk paint, you should give it a light sanding. You only want to lightly sand to remove any old varnish or wax and not mark the wood itself.
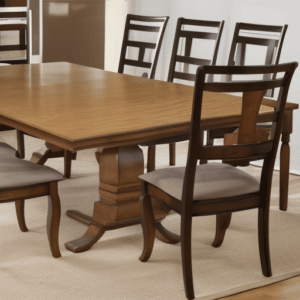
Step 2: Prepare the Table Legs
You should then prepare the legs in a similar manner. You should have already detached them from the tabletop in the above step.
Next, remove any bolts and screws or place masking tape over them.
You can now sand the legs to create a surface that is suitable for painting. Once you have finished sanding, wipe the legs with a dry cloth to remove any excess dust.
Step 3: Paint the Legs
We advise using a primer to give the legs an undercoat. This will help your main layer of paint stick better and give a fuller colour with fewer coats.
Chalk paint is a great type of paint to use as it helps create a distressed look for your legs and can give your upcycled dining table and chairs a retro feel.
Apply the first layer of paint. Once the first layer is dry, you can assess the quality to see if a second layer is required. If so, only paint it once the first layer is fully dried! Repeat this process until you are happy with the finish of the legs.
Leave them somewhere separate to dry, and do not reattach them until the tabletop is finished and dry too.
Step 4: Paint the Tabletop or Wax It
There are two different things you can do for the tabletop – painting or waxing/varnishing. This depends on how you want the table to look and the quality of the wood. For example, if the wood is still of excellent quality, you may just want to varnish it.
Painting
Ideally, you should have already prepared the tabletop in step 1. You should first apply primer or a thin, even layer of undercoat. This will help the paint stick and for the colour to take easier.
Next, apply coats of the main colour to give new life to your tabletop. Make sure each coat has dried properly before starting the next one, as it will help prevent smears.
In terms of colours – this is entirely up to you! It is your project, so be creative. You may want to choose the same colour as the table legs. Alternatively, you may want to try something different to create a contrasting tabletop. For example, you could paint the legs white but the tabletop in a bold accent colour like dark blue or green to match the decor of your kitchen.
Waxing
If you are happy with the quality of the tabletop, you may simply want to varnish or wax it. This is a great way to protect the table and make it look fresh. Wax will give the table a fantastic smooth finish, whereas varnish will give a duller finish, allowing the wood grain to show through more.
Step 5: Paint the Table Chairs
Don’t forget about the chairs! If you invest time in painting your table, you want matching chairs too!
The chairs should also be prepared first. Sand your wooden chairs, too, using medium-grit sandpaper. Don’t use too much elbow grease, though; you simply want to create a smooth surface and remove the sheen so that the paint will stick.
Once you have landed the chairs, they can be painted. We advise using an undercoat or a primer first. This will make sure that the old wood colour does not show through. You can then apply your primary coat of chalk paint or gloss paint. Ideally, you want hard-wearing paint that will protect your chairs too.
Depending on the wood type and the paint colour used, you may need to apply two coats. If you do, make sure the first layer is completely dry before applying the second coat.
Step 6: Add Accessories and New Fixtures
Lastly, aside from altering the colour and look of the whole thing, you can add new accessories and fixtures to your table. This is a great way to transform your piece of furniture and make a new use for things like cushions and throws in your home.
Chairs
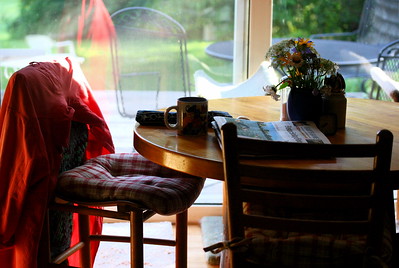
One of the simplest things you can do is to place a cover on each of your chairs. You may have some spare cushions, for example, that can add a dash of colour to your dining room. Try and recycle old cushions instead of buying a brand-new set!
You could use matching cushions to create a stylish, uniform look. Alternatively, you could have a different coloured cushion for each chair to match your retro paint scheme!
Tabletop
Now that you have painted or varnished the tabletop surface, you can add some accessories to it! This could be something simple like a fruit bowl in the centre. Alternatively, you could add a vase with flowers or a narrow tablecloth that fits down the middle of the tabletop.
Upcycling Project FAQs
What Is the Purpose of Upcycling?
Upcycling promotes the reuse of old items. It is the process of reusing existing items in your home to transform them and continue their use. This reduces your environmental impact by not continually buying new products and wasting old ones.
Is Upcycling a Table Expensive?
Upcycling a table is not expensive compared to buying a new one! To upcycle a kitchen table, you generally only need some paint of your choice (go for some chalk paint for a shabby chic feel or gloss for a modern look), paintbrushes, sandpaper, and wax or varnish. That’s it! These are far cheaper items to purchase than a new table which can cost hundreds.
Upcycling Your Table
As you can see, you can completely transform your dining room table and give it a fresh look with these upcycled dining table ideas. You can turn it into a chic retro distressed table or simply give it some new lustre with a coat of wax.
Whatever you do, upcycling is a great way to improve the longevity of your furniture and save money in the process!