
There’s more to coffee roasting than you might think. Some even call it a science.
That’s not to say that a total beginner like yourself is incapable of roasting your coffee at home, but it will take a few tries and some experimenting to get it right.
Fortunately, you also have this step-by-step guide to help you along the way. It will tell you what you need to know about how to roast coffee beans at home, from a list of what you need to start roasting and a short breakdown of the roasting process to a discussion of some of the different roasting methods and more!
Hopefully, you’ll soon be roasting your beans like a pro with some time and practice!
What Do You Need to Get Started?
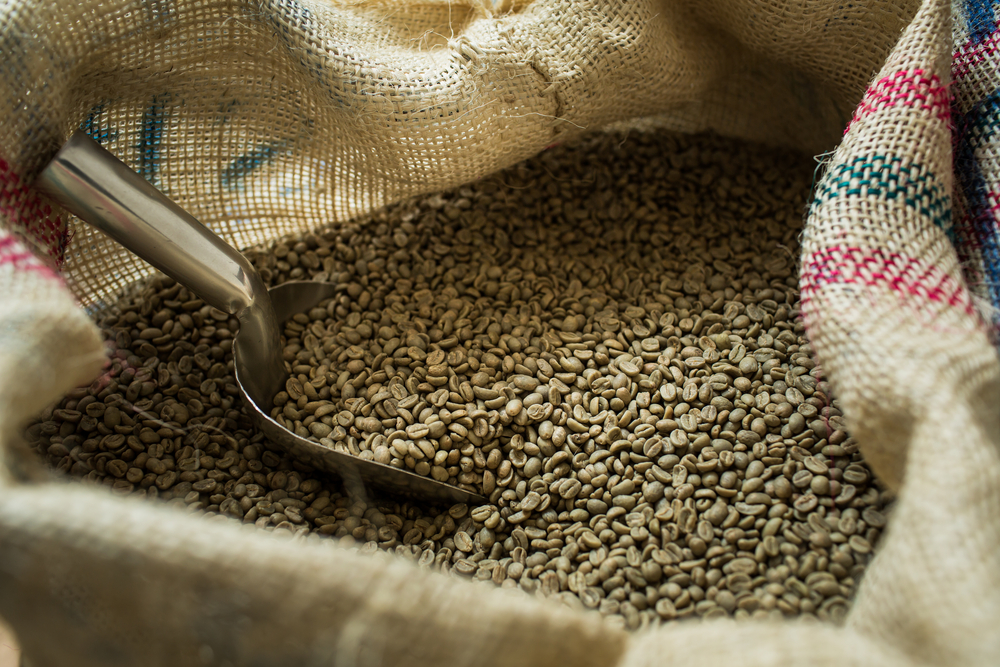
First, you will need green coffee beans. You can buy these online, from your local coffee shop, or from a farmer’s market. You will also need roasting equipment. This depends on the type of method you choose and what equipment and tools you already have at home.
Lastly, you’ll also need a basic understanding of what happens during the roasting process. This will help you to achieve the best results.
Essential Steps in Coffee Roasting
Let’s take a quick look at the essential steps involved in coffee roasting:
Step 1: Maillard Reaction
Heating the raw beans causes a chemical reaction that gives them the delicious taste and aroma we know and love. This chemical transformation is known as the Maillard reaction. The beans remain green and have a bitter, unpleasant taste without it.
Step 2: Stir
Stirring distributes the heat among the beans, ensuring that they are roasted evenly.
Step 3: First ‘Crack’
The first crack is when things start to get exciting. After about three to five minutes, you should hear a loud crack. At this stage, your beans will be lightly roasted. This is the earliest point when the beans can be removed from the heat, but you’ll need to continue cooking them if you want to achieve a medium or dark roast.
Step 4: Second ‘Crack’
The second crack occurs a few minutes after the first crack. By this time, your beans are now a medium roast. You should remove the beans from the heat soon after this second crack. Leaving them on for much longer will result in burnt beans.
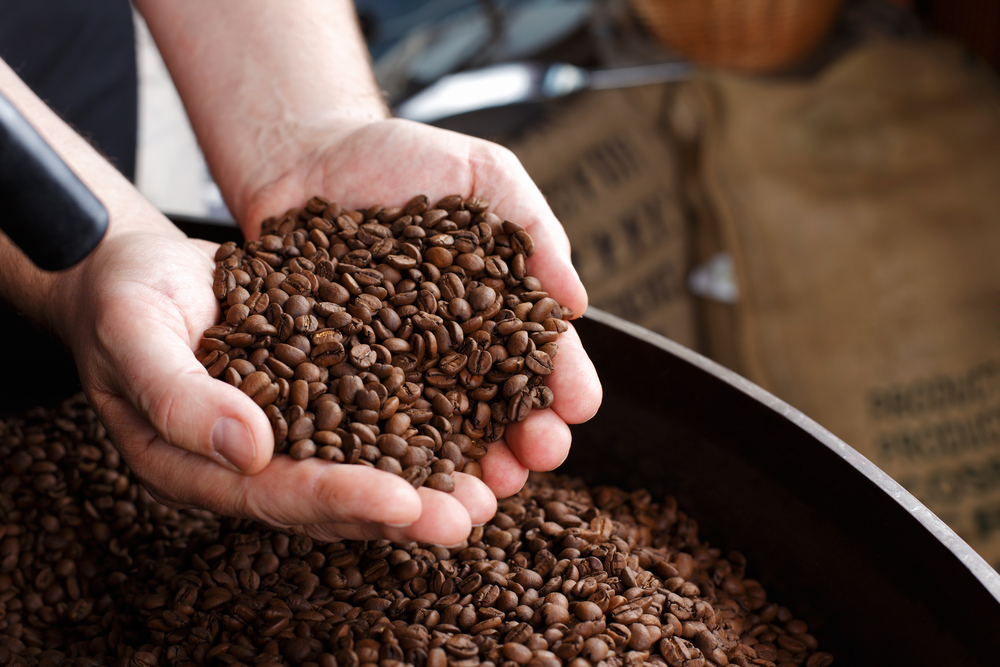
Step 5: Cool the Beans
Cooling the coffee beans plays just as important a role in the roasting process as heating. It has a similar effect to plunging vegetables into cold water after blanching them. It helps seal in the flavour and keeps the coffee fresher for longer. You’ll want to use two metal colanders (plastic is not recommended) for cooling your beans, transferring them from one to the other. You can also spread the beans in a single layer onto a baking sheet, but this method is less effective.
Step 6: Separate the Chaff
The chaff is the dry husk of the coffee bean. Separating the chaff from the beans is where things can get a little messy, so it’s best to do this outside or in the sink. Removing the chaff is where using two metal colanders also comes in handy. The chaff will blow away as you transfer the beans between the two colanders.
Step 7: Degas Your Beans
Degassing refers to the carbon dioxide that roasted coffee beans emit. This means that your beans won’t be ready for consumption immediately after roasting them. You’ll have to wait approximately 12 hours for some carbon dioxides to be released from the beans before storing them in an air-tight container. You may choose to leave them uncovered for a longer or shorter period, but the main thing to be aware of is that the amount of carbon dioxide present in the beans can affect their flavour.
Different Methods of Roasting Coffee
Now that you have a better idea of what the roasting process entails, let’s look at some of the different roasting methods in more detail.
Method 1: Roasting Beans in a Pan
This is one of the most common home coffee roasting methods. It’s cheap and convenient, but you’ll also need to do a fair amount of experimenting to find the best temperature that produces the perfect roast.
You’ll need:
- Green coffee beans
- Uncoated cast iron or steel pan (using a coated/non-stick pan will give the beans a bad taste)
- Stovetop/grill (preferably gas, as this makes it easier to adjust the heat)
- Metal colander x2
- Wooden spoon
- Air-tight storage container
Procedure:
- Open all the windows and switch on the stove hood. Roasting coffee beans this way causes a lot of smoke. While it’s totally normal, the smoke can be overpowering, so it’s best to ensure that the room is well ventilated before you start. Better yet, do the roasting outside if that’s an option.
- Place the pan on medium heat. Finding the correct temperature for this method is tricky. Start at around 450°F or 230°C and then adjust the heat accordingly from there.
- Add a shallow layer of beans to the pan. Take care not to overfill it. Overfilling the pan will result in an uneven roast.
- Stir the beans to ensure an even distribution of heat. Continue stirring until the beans are done roasting.
- Listen for the first ‘crack’. After 4-5 minutes, you should hear a distinctive crack. Your beans are now a light roast.
- Listen for the second ‘crack’. After 6-7 minutes, you should be able to hear another crack. This indicates that your beans are now a medium roast. To avoid burning the beans, you’ll want to remove them from the heat approximately 30 seconds after hearing the second crack.
- Transfer the beans between the two colanders. Wear oven mitts when handling the hot beans. Stir and shake the colander to separate the beans from the chaff. It would be best to do this outside or in the sink to avoid making a mess.
- Leave the beans uncovered for 12 hours to degas before storing them in an air-tight container.
Method 2: Roasting Beans in the Oven
This is another cheap way to roast coffee beans at home. Be aware, though, that oven temperatures may differ, and you’ll need to do a bit of experimenting to find out what works the best.
You’ll Need:
- Green coffee beans
- Perforated oven tray (a regular oven tray covered with a baking sheet will also do the trick)
- Oven (do not use a fan-assisted oven with this method, as it will blow the chaff around and result in a big mess!)
- Metal colander x2
- Air-tight storage container
Procedure:
- Preheat the oven to 500°F or 260°C. Again, this method works through trial and error when finding the right temperature, so adjust it until you find what works for you.
- Open all the windows and switch on the stove hood. Like what happens when you roast coffee in a pan, things tend to get very smoky with this method. Make sure that your kitchen is properly ventilated before you begin.
- Spread one layer of beans over the tray. Take care not to heap the beans on top of one another. Be very careful with this to prevent an uneven roast.
- Place the tray in the middle of the preheated oven. This is where the temperature is the most consistent.
- Wait for the first ‘crack’. This should happen after about five minutes. Your beans will be lightly roasted at this stage.
- Wait for the second ‘crack’. Your beans are now a medium roast. You can wait up to one minute before removing them from the oven, but they may start to burn before then, so you’ll want to keep a close eye on them.
- Transfer the beans between the two colanders. Cool the beans as fast as possible (remember to wear oven mitts!). Stir and shake the colander to separate the beans from the chaff. Do this outside or in the sink to keep cleaning up to a minimum.
- Leave the beans uncovered for 12 hours to degas. You can then store them in an air-tight container.
Pro Tip: If you’re using a perforated tray, make sure that the holes aren’t big enough for the beans to fall through. But if you’re using a regular oven tray with a baking sheet, you’ll want to shake it now and then once it’s in the oven.
Method 3: Roasting Beans in a Popcorn Machine
This is an excellent method for roasting beans at home if you’re looking for a more hassle-free approach that’s guaranteed to produce good results. Be aware, however, that this method only works with certain types of popcorn machines. Not all of them are suited for roasting coffee beans.
Ideally, you’ll want to use a hot-air popcorn popper, but other machines that heat from the sides can also be used. Do not use a popcorn machine that heats from the bottom. These machines will not only give you an uneven roast, but they also have the potential to cause house fires by setting the chaff alight.
In addition, bear in mind that when you use a popcorn machine to roast coffee, you are not using the appliance for its intended purpose. In other words, the machine may break after a few uses.
You’ll need:
- Green coffee beans
- Popcorn machine
- Wooden spoon
- Large bowl
- Metal colander x2
- Air-tight storage container
Procedure:
- Ensure the room is well ventilated.
- Preheat the machine. The time this takes will depend on the type of model you own.
- Add the beans to the machine. Only add about ½ a cup or the same amount of beans as the machine’s recommended quantity of corn kernels. This will prevent you from overfilling the machine.
- Help the beans to start moving. You can do this by gently stirring them around with a wooden spoon. You’ve probably overfilled the machine if you find that the beans aren’t moving. Once the beans start rotating on their own, you can put the lid on, but you’ll need to keep an eye on them the entire time to make sure that they continue to turn. As a general rule, it would help if you never left your popcorn machine unattended.
- Collect the chaff. You can do this by placing a large bowl directly beneath the machine’s spout.
- Listen for the first ‘crack’ after 3-5 minutes. This sound means that your beans are a light roast.
- Listen for the second ‘crack’ after 6-8 minutes. Now your beans are a medium roast. Continue roasting for another 30-60 seconds to achieve a medium-dark roast. Be careful not to burn the beans by keeping them in the machine for much longer after this.
- Transfer the beans between the two colanders. Wear oven mitts and avoid messing with chaff everywhere by completing this step outside.
- Allow the beans to degas by leaving them uncovered for approximately 12 hours.
Method 4: Roasting Beans in a Coffee Roaster

If you’re serious about roasting your own coffee at home, and if it’s within your budget, we recommend buying a coffee roaster.
This is simply because coffee roasters are designed for this purpose and will ultimately give you the best results. If possible, purchase commercial-quality equipment for durability and reliability. This ensures a great coffee experience.
You’ll need:
- Green coffee beans
- Home coffee roaster
- Metal colander x2 (optional)
- Air-tight storage container
Procedure:
- Ensure the room is well ventilated. Even though you’ll be using a machine that’s been purpose-built for roasting, it will still cause a lot of smoke (Note: this is a normal part of the roasting process, and any method that you use will produce smoke).
- Switch on the machine and add the beans. Remember to read the instruction manual that came with the machine and to follow the guidelines provided by the manufacturer.
- Keep an eye on the beans during the entire roasting process. Never leave the appliance unattended.
- Wait for the first and second ‘cracks’. The time it takes for this to happen will differ from one machine to the next. Switch off the machine once you have achieved your desired roast.
- Transfer the beans between the two colanders. This step is optional if you have a machine with a built-in cooling system. Wear heat-proof mitts when handling the hot beans, and separate the beans from the chaff outside or in the sink.
- Leave the beans uncovered to degas. Do this for approximately 12 hours before grinding and brewing. Store the beans in an air-tight container.
Which One of These Methods Is the Best?
Now that you know how to roast coffee beans four different ways, the question remains: which one is the best method? Roasting in a pan or oven is undoubtedly your best option for keeping costs down.
But if you’re looking for simplicity and consistency, we recommend using either a popcorn machine or a coffee roaster. Keep in mind that there’s less room for error with these last two methods.
Roasting coffee in a pan or oven has the potential to create a lot of wastage (not to mention needing more time and effort on your part!).
It also goes without saying that a coffee roasting machine will likely yield the best results.
However, at the end of the day, it all comes down to your level of expertise and the type of method you feel the most comfortable using.
We’ve covered everything you need to know about the roasting process and the various methods, so now all that’s left to discuss are some of the pros and cons of roasting your own coffee beans.
Pros:
- Roasting your coffee beans will grow your appreciation for the process that goes into making the perfect brew. There’s also something oddly rewarding about taking the time to learn something that so many of us take for granted.
- Roasting your beans means that you’ll have fresh coffee whenever you want it. What’s more, you’ll be able to choose how light or dark the roast is – according to your liking.
- There’s the potential to turn coffee roasting into a career: you could open your very own business or become the supplier of a local coffee shop.
- Roasting your own beans has the potential to save you money since buying raw coffee beans is usually cheaper than buying the ones that have already been roasted.
- You’ll be able to gift the other coffee lovers in your life with bags of fresh, home-roasted coffee beans.
Cons:
- Roasting your coffee requires time and effort. As you’ve probably realised by now, it’s not just a matter of tossing some raw coffee beans into a hot pan and waiting for them to turn brown.
- There’s a learning curve involved (we weren’t kidding in the beginning when we said that coffee roasting is considered a science).
- You’ll probably waste quite a lot of beans while you are still getting the hang of the whole process. This means that you’ll more likely end up buying more green coffee beans, which, while cheaper than the ones that have already been roasted, can become rather expensive.
Is Roasting Your Own Coffee Worth It?
Any coffee-roasting enthusiast would reply with a resounding YES! But the answer to this question also largely depends on personal preference.
After you’ve reached the end of this article, you may be feeling that learning how to roast coffee beans sounds like too much effort. Or maybe you think that it’s something that’s best left to the professionals. That’s OK!
On the other hand, it’s impossible to know if something is worth the effort until you’ve tried it!
So, do you think you’ll be roasting coffee beans anytime soon? What method will you use? Let us know in the comments! And don’t forget to check out our site regularly. We publish new articles and guides every day!