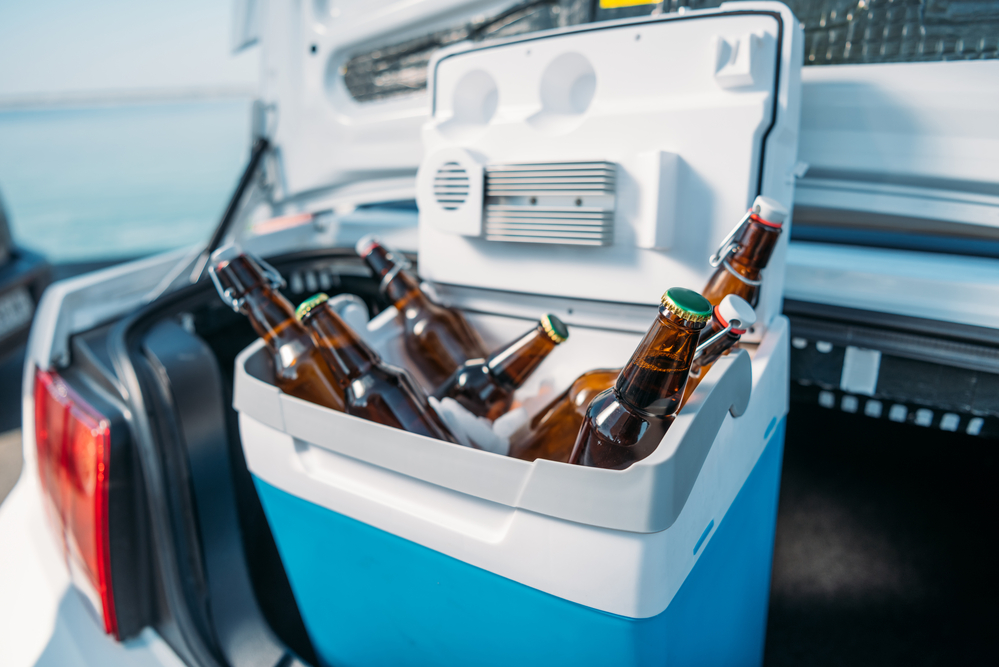
Even the best cooler or lunch box needs ice packs if it’s going to keep your drinks and food cold on a hot day. In an ideal world, you’d have loads of shop-bought packs at the ready. However, they can be expensive and are rarely the right size to fit your box correctly.
You could fill your cooler up with loose ice, but that will just end up melting, and you might not want everything getting soaking wet. Making ice packs is the perfect solution to staying cold.
We’re going to show you just what you need to make homemade ice packs that can work just as well as the ones you’d buy.
We will start with two basic designs you can make and then show you how you can improvise if you need your own cold packs to stay frozen at short notice. We will also look at how you can improve the efficiency of your homemade ice packs with some extra ingredients.
So, if how to make ice packs for coolers is something you’re interested in, read on.
Homemade Ice Packs for Coolers and Lunch Boxes
You can use these two designs to pre-build a stock of DIY ice packs that you can freeze ready for your next trip with your cooler.
Method 1: PVC Pipe Ice Packs
PVC pipes make excellent cooler ice tubes. You can build them to the exact size of your cooler for maximum efficiency, and they’re so strong that they can last you for years without fear of leaking. To make your ice tubes, you just need to follow these instructions. We like to use 2″ PVC pipe and end caps, but you can use any that you have available.
- Measure the internal space of your cooler box. Take off 1cm, and this will be the very maximum length that your ice tubes can be.
- Cut the PVC tube to your measured length minus how much is needed for the two end caps. This will depend on the size of caps and tube you are using, but it’s usually about 3cm off your total length. Check the length is right by dry fitting the end caps, and you can adjust accordingly.
- Carefully glue one end cap in place with PVC cement, following the instructions. Wipe any excess off and leave at least an hour for the glue to dry.
- Hold the tube vertically and fill it with water to a maximum of 75% of the space inside. Remember that water expands by 9% when it freezes, so if you fill your tubes too much, they’ll crack.
- Make sure the surfaces are dry, and then glue the second end cap in place. Leave the ice tube standing vertically for at least another hour so the PVC cement can dry thoroughly.
- Freeze the ice tubes for a few hours or overnight, and get ready to try them out on your next trip.
Method 2: Plastic Bag Ice Packs
Frozen water bottles or juice boxes inside a lunch box can keep it cool, but it usually means you end up with an undrinkable part-frozen drink. If you need something smaller than our ice tubes, you can start making your ice packs of different sizes with Ziploc freezer bags. These are perfect for lunch boxes or for sliding between drinks and food in your cooler.
Partially fill (maximum 75%) a Ziploc bag with water and freeze it to make simple reusable ice packs.
To seal the bag permanently, cover the sealed lip on both sides with aluminium foil and position it at the edge of your ironing board with the water-filled bag held down out of the way. Carefully run over the foil with an iron on medium heat. This will effectively seal the bag as a backup to the zip.
You can improve the efficiency and shape of your DIY ice packs by trying these improvements.
Sponge
- Cut cheap cleaning sponges to match the size of your bags. Using a sponge helps the pack keep its shape and mops up if you end up with any water leaking. It also leaves sufficient room for the water to expand when it freezes.
- Soak the sponges in a bowl of water. Give them a good squeeze underwater so all the air comes out.
- Carefully place the filled sponge in the bag.
- Squeeze as much air out from the bag itself as possible (don’t squeeze the sponge).
- Seal it up and then freeze it overnight.
- You now have reusable ice packs. Top up with water if necessary before refreezing, and check for any holes.
Water Storing Crystals
Instead of using a sponge in your bag, you can use the gardener’s water storing crystals to make a gel ice pack. Polycrystalline crystals absorb water, so you don’t have to worry as much about messy leaks from your DIY ice pack. You’ll need to experiment with our suggested quantities depending on the size of the Ziploc bag you’re using.
- Fill your bag about 1/3rd with water.
- Add three teaspoons of crystals. It won’t look much, to begin with, but a little goes a long way.
- Leave to stand for half an hour. You might need to squeeze and mix the bag occasionally.
- If there’s water left, add another teaspoon of crystals.
- If it’s all been absorbed, spread the crystals in the bag flat and gently squeeze out the air from the rest of the bag.
- Freeze overnight and get ready to test your gel ice pack.
Other Great Ways to Make a Quick Homemade Ice Pack
If you’re stuck and need to know how to make ice packs for coolers without as much preparation, you’ll probably have several things around the house that you can use.
Water Bottles and Milk Jugs
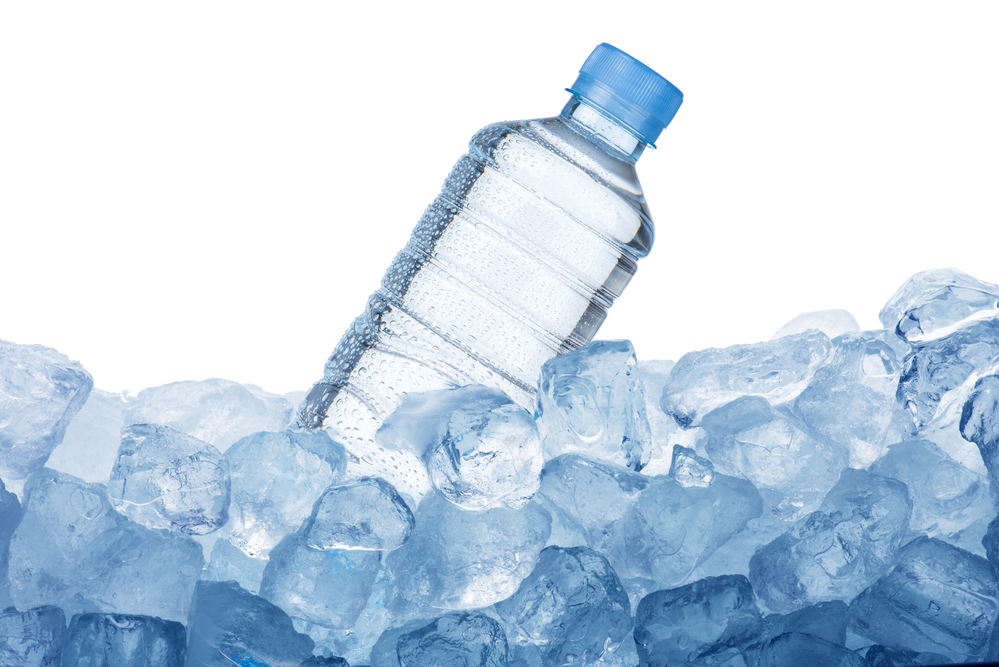
You can freeze flexible water bottles, soda bottles, milk jugs and other containers to make homemade ice packs. Freezing drinking water or juice in a bottle means that you’ll have an ice pack and a chilled drink as it defrosts. Just remember to empty it enough before you freeze so that the bottle doesn’t crack as the ice expands.
Used plastic milk jugs are great to fill with water and freeze up if you need large ice bricks to keep things cold.
Ice Cream Tubs
Ice cream tubs or similar containers can be partially filled with water and frozen to make ice blocks. Remember to put the ice pack upright in your cooler, as the lids might leak as the water defrosts.
Balloons
Fill balloons with some water, tie the ends and freeze them to make fun DIY ice packs. These are great for getting kids involved, although they’ll probably get a bit wet making them.
Wine Box Bladder
You can remove the foil bladder from a wine box to make a sturdy DIY ice pack. Discard the cardboard packaging, partially fill the bladder with water, and freeze. The shape of the bladders means that they work well as packs for the top or bottom of your cooler.
How Do You Make a Long-Lasting Ice Pack for a Cooler?
Using just water is OK for making a homemade ice pack, but we can make our packs more efficient by adding some extra ingredients. Make sure that you only do this for containers that will stay sealed, or if they do leak by accident, they won’t come into contact with any food or cause a hazard. Heat-sealed freezer bags are a great choice. It’s also a fantastic idea to add food colouring and label the packs clearly, so no one mistakes the cold pack contents for something drinkable.
Salt Water
Salt water has a lower freezing temperature than freshwater. This means that your ice pack will keep your cooler colder and last longer even if it doesn’t freeze solid. Dissolve as much salt as possible in room temperature water to make a strong solution. You should be using at least one heaped tablespoon per cup of water.
Rubbing Alcohol
Rubbing alcohol also has a low freezing point. You’ll probably find that your home freezer won’t be able to turn it entirely into ice.
Mix 1 cup of rubbing alcohol with two cups of water to make your liquid, and add a little food colouring. To make a really versatile gel ice pack, add three teaspoons of water storing crystals with one cup of your alcohol/water mix and seal in a Ziploc freezer bag.
Dish Soap Gel
You can even make a gel-like ice pack by partially filling a Ziploc bag with dishwashing liquid or gel hand soap and freezing it. Both of these have a low freezing point and will probably not end up freezing solid in your home freezer, so they make practical, pliable cold packs for lunch boxes. Make sure that your Ziploc bags are completely sealed, and consider using two layers to make sure that you don’t end up with a soapy mess.
Making Homemade Ice Packs
Now you know how to make ice packs for coolers, you might never need a shop bought one again. You can improvise filling suitable containers with water to make effective ice blocks, or you can even produce your hardwearing ice tubes or reproduction gel ice bags to keep your food and drink perfectly cool on your next trip.