You may think it would be difficult to successfully make ice cream even when you don’t have an ice cream maker, but that’s not true. Instead, there are several steps you can follow that will allow you to create some pretty good ice cream for eating at home. Oh, and you can choose your flavours, too.
So, how to make ice cream without an ice cream maker? How is it even possible to achieve this? Well, let’s walk through the steps you need to follow.
An ice cream machine just makes things happen faster and easier. However, they weren’t always around, and homemade ice cream pre-dates an ice cream machine, so all is not lost.
Making Ice Cream With a Packet Mix
The easiest way to make homemade ice cream is to use an ice cream mixture. These are easy to buy, and everything is there together. All you need to do is to follow some basic instructions.
It is a great way to get the ice cream base. However, there are various ice cream recipes that could be well worth checking out. So do some research, get creative, and enjoy!
Step 1: Stirring and Freezing
If you plan to use the mixture as the ice cream base, you must mix it in a large bowl. And find a container where you will pour the mixture to allow it to freeze. Some people use a baking tin.
You need to keep the mixture in the freezer for around 90 minutes before tackling the next step in making homemade ice cream without a device.
Step 2: Whisk Until Stiff Peaks Form
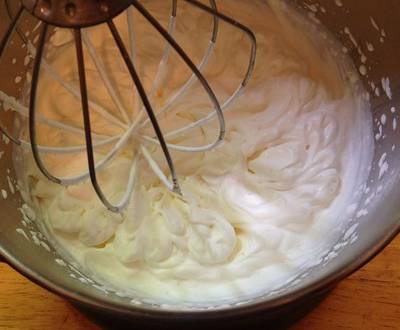
When the 90-minute mark has been reached, you need to take the mix out and move on to the next step. The key here is in the whisking. It should create stiff peaks in the mix that is smooth and creamy.
At this stage, you need to use a sturdy whisk and make sure there are no frozen pieces or ice crystals. You want to gently fold the mixture and scrape down the side of whatever container you are using to make sure everything is well-blended.
After that, put it back in the freezer and check it again after around 45 minutes.
Step 3: More Whisking and Scraping
You need to repeat this process every 30 minutes and do so for a few hours. You should notice that the ice cream is becoming stiffer and more frozen with each step, and that’s a good sign.
After a couple of hours, you should end up with something that has a soft-serve consistency. The texture will only be achieved if you keep on whisking and scraping at those intervals.
However, if you like your ice creams to be thicker, allow them to freeze for longer.
When making ice cream without an ice cream maker, it will take around a day to firm up in the freezer.
Making Fresh Homemade Ice Cream
But what happens if you don’t want to use a special ice cream mix? You can still do so with a few ingredients you won’t even think it’s possible.
It should also be noted that we are talking about homemade ice cream without churning it, so that will make the process a whole lot easier. No-churn ice cream means you don’t have to mix it continuously, as an ice cream maker would.
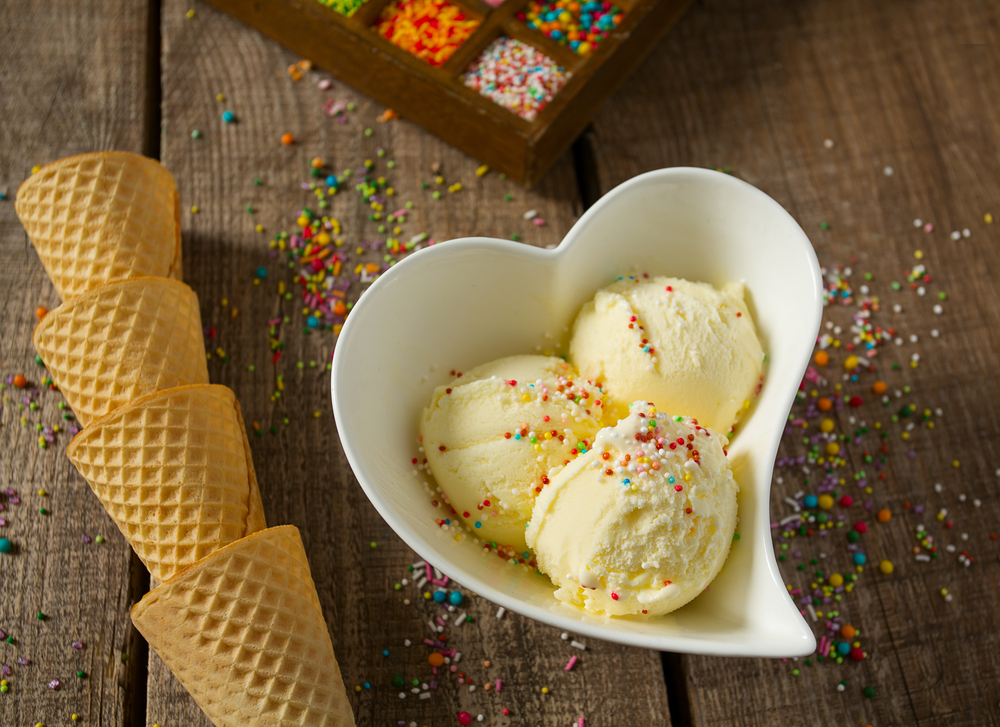
Step 1: Choosing the Flavour
So, let’s say you are going to make some vanilla ice cream. For this, you don’t even need a custard base to achieve something pretty spectacular.
Instead, you are looking at needing some condensed milk, heavy cream (with whipped cream being the best option), and vanilla extract. Of course, if you want to make a different ice cream recipe, you can choose chocolate ice cream, mint, or anything else you want.
Step 2: Proper Whisking
You need to take the cream and whisk it until those fluffy peaks appear. This will take a bit of work, so you could use a stand mixer to speed things up a bit.
Step 3: Producing a Creamy Ice Cream
Once you have whisked the cream, add the sweetened condensed milk and start to fold that into the cream. Using sweetened condensed milk is the best option. And when mixed with the whipping cream, you’ll get such a creamy mixture that will blow your mind.
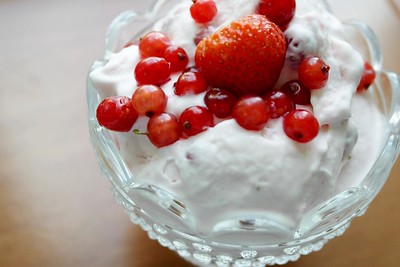
Once you have folded the condensed milk into the cream, you should do the same with the vanilla extract. However, if you are following another ice cream recipe, then this is the point where you would throw in those mini chocolate chips or frozen strawberries.
Step 4: The Ideal Container
You then need to look at freezing your mix, and you need to be careful about creating ice crystals, as this will ruin any ice cream you make.
The best option with this no-churn ice cream is to use a metal pan. Things freeze faster in metal than anything else. All you then need to do is pour the mixture into the container and pop it into your freezer. It is that simple.
A Little Reminder Before Serving
The only drawback we have to mention regarding making this ice cream without a machine is that this form of homemade delight melts faster than other options. One that uses an ice cream base will stay frozen for longer. However, it will melt in around 15 minutes after being served in this instance.
The Key to Making Ice Cream Without a Machine
So when you want to make no-churn ice cream without a machine, the key to the perfect homemade ice cream is mixing. You may want to use a hand mixer to make the process much easier. That should allow you to get those whips in your homemade ice cream before moving on to the freezing process.
Also, with the freezing part, you can use a glass pan, but as we said earlier, a metal option is the best. You could put it straight into small individual containers so they are all ready to be served once frozen. And that’s a great idea if you have the space in your freezer.
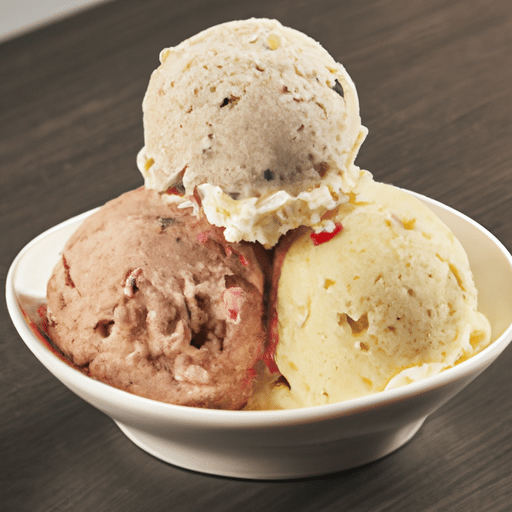
The Fun Part
After that, you only need to think about how to dress up the finished product. Whether you use cocoa powder or caramel drizzle, or anything else, it’s up to your preference. That is one of the best things about being able to make homemade ice cream. It gives you so many options with the flavour, even with so few ingredients. You can also use peanut butter. It’s entirely up to you.
How Long Does It Take?
How long this process takes depends on which option you use. Remember, a soft style consistency takes less time, as it requires less freezing. It’s all down to your personal preferences.
If you are going for the full set of ice cream, it will take several hours. Leave it until the following day to get the best possible result.
The actual stirring process takes little to no time at all. It’s faster with the ice cream mix as you don’t need to measure things according to the recipe. So if you are short of time or worried about your own version, this could be a perfect alternative.
All Set to Start
And that is how to make ice cream without an ice cream maker. We have looked at no-churn ice cream and those that use a pre-made mix as the base. If you love ice cream, it’s very easy to do and requires little to no work. Let’s face it, there should always be more ice cream in the world, and at least now you know how to do it yourself.
So, are you ready to make your creamy delight?