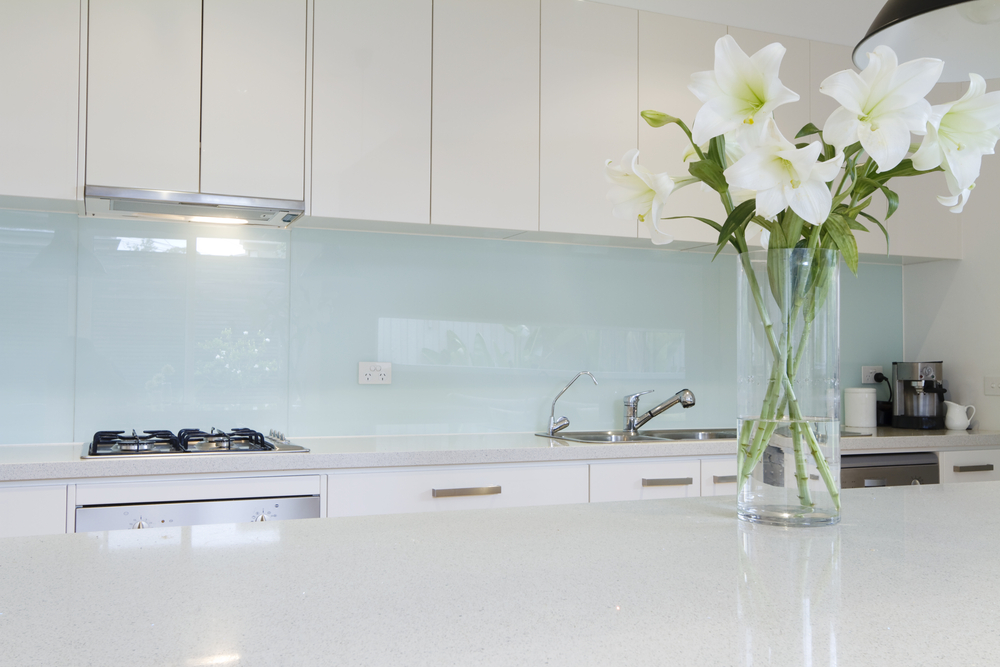
Since most walls in kitchens can get dirty due to water splashes and food splashes, they should be covered with a splashback. Glass splashbacks are mainly installed close to a sink, cooker, or gas hob.
While installing a glass splashback on a wall might seem like a daunting task, the installation procedure is quite straightforward, especially if you have the tools required for such DIY jobs.
In this article, we will teach you how to fit a glass splashback on hard surfaces.
Step-By-Step Guide on How to Fit a Glass Splashback
To install a glass splashback, you should get in touch with a professional who is quite good at measuring wall sections. A representative of a glass manufacturing company can help you. Such measurements will be used to create a toughened glass splashback that fits perfectly on your wall with sections for fitting power sockets.
While you can do this on your own, measuring various sections of your wall might be rather challenging. Also, a toughened glass splashback that blends with the colour of your wall or tiles might complement the decor.
Method 1: Fitting Glass Splashbacks With Screws
Step 1: Prep the Wall
Start off by preparing the surface on which you will fix the glass splashback. Get rid of any wallpaper that might be on that surface. You should also scrape off or sand down flakes of paint to obtain an even surface.
If your wall has some holes, use a filler to repair the surface, then sand it down to an even level. Additionally, plaster also makes it easier for you to fix an uneven surface.
Step 2: Clean the Surface
With a mild soap detergent and a wet cloth, clean the surface of the wall to get rid of any dirt particles. Avoid abrasive cleaners made from a material that might damage or scratch the surface of a wall.
Step 3: Mark the Drill Points
Wear some protective gear before you touch the glass splashback; eye protection and suitable gloves are enough.
Lift the unfitted glass splashback, then place it on your wall in a strategic manner. Socket gaps on the splashback glass should perfectly click into the individual electrical sockets. Apart from that, the splashback glass should have a uniform gap on the edges that separate it from counters, wall units, and your worktop.
With the glass splashback in the right position, take a pencil, then mark the wall through the pre-drilled holes. You can also make a faint outline of the splashback’s boundary. A spirit level can make it easier for you to know if the splashback lies on a straight level.
Once you finish marking the drill points, lower the splashback from the wall’s surface and place it on another spot with special care. Safe handling saves the glass splashback from scratches and other defects.
Use a power drill to puncture holes into the wall until you get to a certain depth. Fix wall plugs on the drill holes to support the screws you will use.
Step 4: Install the Splashback
With the help of a friend or a family member, lift the splashback, then place it perfectly on the wall as you did earlier on. Drive screws into the wall plugs, concentrating on the holes on the edges first.
Since an electric screwdriver can crack the glass splashback by applying firm pressure, do not use it in this procedure. The most suitable tool for this task is a manual screwdriver.
Fasten the screws using some light force to get a snug fit.
Step 4: Seal
Once you finish installing the splashback on your wall, seal the edges to prevent water from seeping through.
Method 2: Fitting Glass Splashbacks With Some Adhesive
Step 1: Fit the Splashback on the Surface
Start by resting the splashback on the intended surface to check whether it fits perfectly on various sections.
After that, lay the splashback on a clean surface.
Step 2: Fix Supports on the Wall
Since most adhesives are not effective in supporting appliances while drying, you have to fix various supports on your wall to maintain the splashback in its position. For instance, you can install a batten at the bottom-most part of your wall to support the glass from the bottom edge.
Step 3: Apply Adhesive on the Glass
The glass splashback adhesive should be applied 40 mm from the edge of the splashback. Neutral cure silicone can be ideal for this procedure. Apart from that, it should be on the rear side of the glass, which comes into contact with the wall.
Step 4: Fix It on Your Wall to Install It
Fix the splashback on your wall carefully, then apply some light pressure on it. Use a clean cloth while applying pressure on the edge of the splashback to distribute the adhesive evenly.
Protect Your Walls With Glass Splashbacks
And there you have it, everything you need to know on how to fit a glass splashback on your kitchen wall. Once you finish fitting a splashback on your wall, use a sealant to protect it from moisture.
A glass sealant, for example, protects various surfaces from water spills and food spills. Not to mention, it has a non-porous surface that can be cleaned easily within a short period of time to give you a dust free-surface.