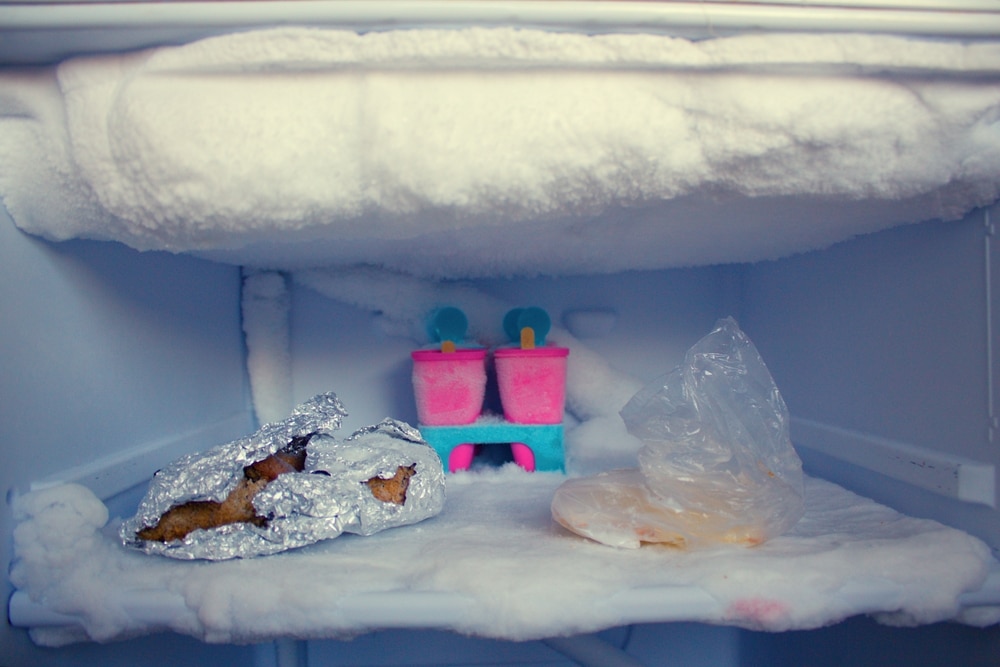
While a freezer might be quite effective in preserving different types of food, ice might build up in the freezer, reducing the total storage space. Huge chunks of ice and frost might affect the efficiency and performance of a fridge.
New models might come with functionality that helps you to deal with ice buildup that may be in your freezer. However, older products might not have this convenient feature for melting frost. To make your freezer effective, you have to defrost it regularly.
In this post, we are going to show you how to defrost a fridge freezer. Since there are different ways of defrosting, we will take you through the most effective techniques to find one that works for you.
Various Precautions to Take Before You Begin the Defrosting Process
Before you start this procedure, you have to read the user manual to get an insight into different parts of the fridge freezer.
What’s more, a user manual might give you insight into the number of times that you should defrost a fridge freezer and if there are any other considerations you should be aware of.
Equipment That You Might Need During the Defrosting Process
These are some of the equipment and tools that you might require while defrosting a freezer:
- A large container or a large bowl- Containers can hold different amounts of hot water, making it easier for you to melt chunks of ice and frost.
- Some clean towels (old towels)- Clean towels are quite effective in wiping varying amounts of water that might be in your fridge to give you a dry and clean surface and reduce the risk of slipping.
- A cleaning detergent
- Plastic spatula to get rid of ice faster
- Plastic ice scraper
- A large cool box with enough space to hold some of the food that might be in your freezer
Step-by-Step Guide to Defrosting a Freezer
Follow our step-by-step guide below to make sure that you defrost your freezer properly.
Step 1: Disconnect the Power Cord From the Power Supply Before You Defrost Your Fridge Freezer
Start by disconnecting the power cord of the fridge from the power source. Afterwards, please open the door of the fridge freezer to expose it to high temperatures.
Once you open the freezer’s door, warm air will flow into the freezer, defrosting some of the frozen blocks that might be in your freezer. The freezer door should always be open while working on the fridge – you can prop it open with one of the buckets or towels you have to hand.
Step 2: Preserve the Freezer Food in the Cool Box
You have to preserve the frozen food that might be in your freezer by putting such food in a cool box where it will stay cold as you defrost your fridge freezer. Start by removing some of the food containers in the freezer, then put them in the cool box.
You can also inspect the food that might be in your freezer. Once you examine the food, get rid of the food that might have been stored in the freezer for a long period.
Some types of food cannot be preserved in a freezer after thawing. Examples of such foods include beef and chicken. Most food products are not recommended to refreeze after defrosting, so you can plan some meals ahead of time to prevent any wastage.
Step 3: Remove the Trays and Shelves
Once you put the food in a cool box, remove the trays and shelves that might be in your freezer. This makes it easier for you to defrost the freezer quickly in a short period of time.
Once you remove the trays and shelves, you will get enough space to work on the freezer. You can also use this opportunity to wash the trays and shelves until they become sparkling clean.
Put the shelves, drawers, and trays in your sink, then clean them thoroughly with a powerful detergent. After that, rinse them with some clean water, then place them on a clean rack.
Step 4: Place Clean Towels on the Bottom Part of Your Fridge
Next, place some towels on the bottommost part of your fridge freezer. Each towel should be thick enough to soak water coming from different parts of the fridge.
Water from the ice blocks may drain to the bottommost part of the fridge freezer after defrosting and spill onto the floor. The towels will absorb some of the excess water and maintain a safe environment for you to work.
Step 5: Get Rid of Ice During the Defrosting Process
While you can leave the door open as the ice defrosts, you can also use other tools to get rid of the ice that might be in your freezer compartment more quickly. You can wait for the ice to melt naturally, but this can take a long time, and the process will be over quicker if you break up the ice a little bit.
If you choose to work on the ice, the tool you use should not be too sharp; you do not want to perforate the sides of your fridge freezer as this can be dangerous. For example, a plastic scraper might be ideal for getting rid of the chunks of ice and frost that might be in your freezer. Freezers have delicate walls that should be handled gently. Some may consider getting a hairdryer to tackle the ice, and while this can seem like a good idea, it is not recommended.
Moreover, hot water might be quite effective in defrosting the chunks of ice and frost that might be in your fridge. Pour some boiling water into bowls that can fit inside the fridge.
Place bowls that have hot water in different compartments of the fridge freezer, but make sure that you keep the doors open. Boiling water emits steam, making it easier for you to defrost a freezer in a short period. With a temperature of about 100 degrees Celcius, steam can melt the chunks of ice, so they’re easier for you to remove.
Step 6: Wash the Freezer Thoroughly
Once you get rid of the chunks of ice, let the freezer sit for about 3 hours, giving the remaining ice enough time to thaw completely.
When you are sure it is completely clear, you can use warm water to clean the inside surfaces. Use a strong detergent or cleaner while cleaning the freezer to get superb results. Baking soda might also make it easier for you to clean different compartments of the fridge, especially if they are stained.
Wipe the interior compartments of the fridge freezer using a dry and clean towel to get rid of the excess water that might have been left in the fridge. Make sure it is completely dry before turning it back on, and be sure that there is no soap left on the surfaces.
Step 7: Turn It Back On
Once everything is clear, clean, and frost-free and everything is settled, you can put all of the shelves and racks back into the freezer and plug the freezer back in. Close the door and wait for the temperature to drop before putting any food back inside.
Keep Your Freezer Frosty
And there you have it, everything you need to know to defrost a fridge freezer in a short period of time. Defrosting a fridge freezer is a maintenance procedure which should be done regularly to improve the performance of your fridge freezer. The door should always stay open as you are working on different compartments.
Before starting the DIY process, you should plan by getting the tools and equipment that will help you defrost your freezer. While tools like plastic spatulas are quite effective in getting rid of ice and frost, they can leave scratches on the surface if used incorrectly. The defrosting process might leave a mess on your floor after the ice melts, so be prepared to clean your floor too! If your freezer is already broken, you should know the proper way how to dispose of it.
Let us know about your defrosting process!