If you’d like to make your kitchen a bit fresher, a great way is to change the appearance of your worktop. Worktops are a massive part of the entire design of your kitchen, so changing their colour or material can completely transform the space.
We will look at seven methods to investigate how to cover kitchen worktops. We’re then going to focus on applying vinyl wrap to your worktop, as this is probably the most popular and cheapest way to achieve an easy kitchen worktop update.
Seven Different Ways of Covering Old Kitchen Worktops
When choosing how to transform kitchen worktops, evaluate all the available options. Some are pretty cheap and simple, while others require more DIY prowess depending on the kitchen worktop’s material.
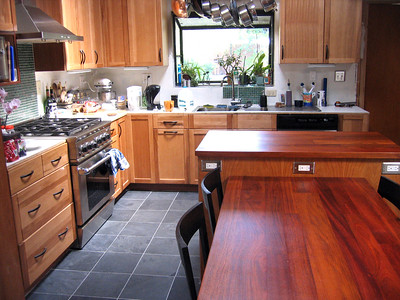
Stain or Revarnish Wooden Surfaces
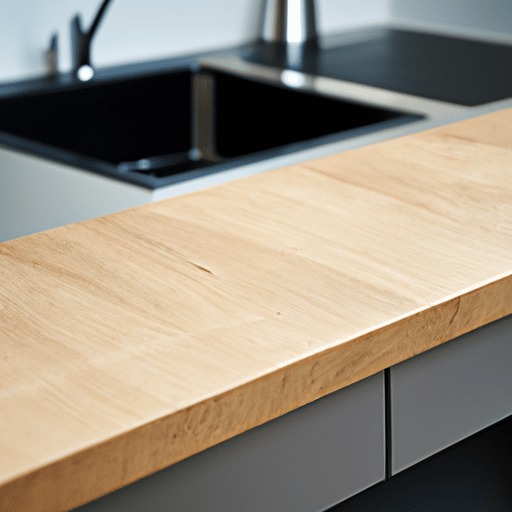
Our first way to revamp kitchen worktops mainly applies to solid wood. You can sand them down and restain them or apply a new coat of varnish to them for a completely refreshed worktop.
Wooden kitchen worktops might be the most expensive to buy, but they’re some of the most versatile for changing their appearance.
Laminate Your Counters
If you have laminate worktops, you can fit an entirely new laminate for a hard-wearing worktop with a refreshed finish.
Fitting laminate is a trickier way to refresh your worktops. It is possible to glue a new laminate onto the old worktop; however, you might need to remove the old laminate to have a completely flat fibreboard surface. Either way, there’ll be sanding, cutting, glueing, routing and edging to be done, so this is probably a great DIY countertop idea if you feel competent with your skills.
Paint Your Kitchen Worktops a New Colour
One of the simplest ways of covering kitchen worktops is to paint them. This is easiest if you have wooden surfaces. However, you can also paint a laminate worktop with proper preparation and materials.
Painting kitchen worktops completely transforms them, but the finished surface is relatively easy to damage through normal wear and tear. This might be a refurb method better left to your cupboard doors and drawers.
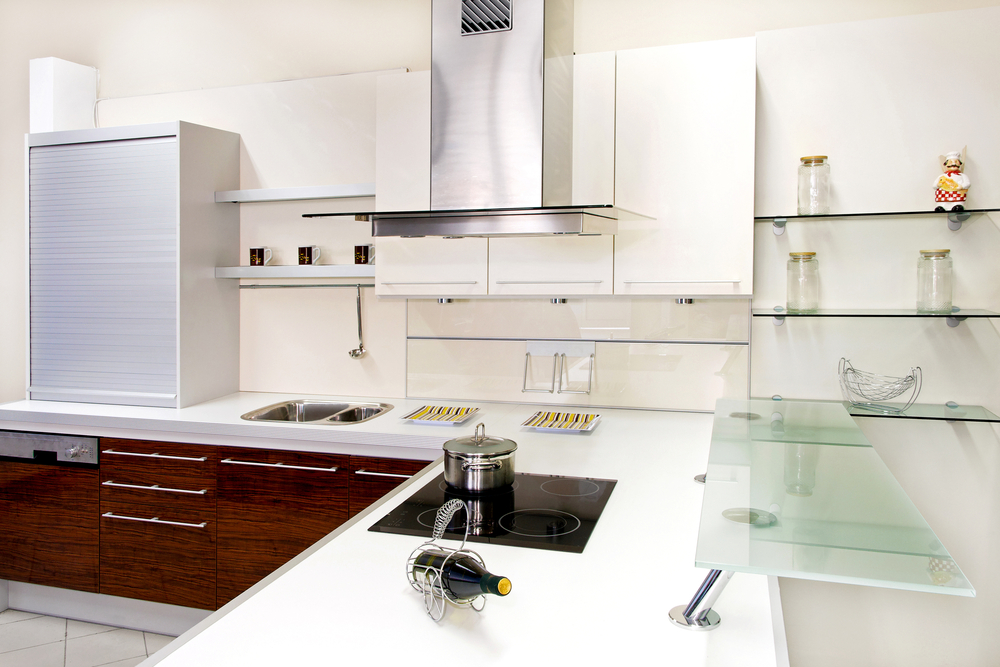
Fit a Marble, Granite, Quartz or Glass Overlay
If you want to transform your kitchen, fitting a worktop overlay will give a completely different look and feel. Ultra-modern worktop covers can be custom-made for your old work surfaces. These surfaces drop on top of your countertops like a lid to completely cover them. They even cover up the old edges.
You can choose from recycled glass, quartz and granite worktop covers. Marble worktops and white quartz gloss are particularly popular. While these customised, made to measure covers for worktops are one of the more expensive solutions, we think that they look fantastic. However, it is recommended not to put hot pans directly onto the worktops, although they are hardwearing.
Apply Industrial Metals
If you like an industrial glow or need more heavy-duty materials, you might want to consider metal covers for counters. These metal sheets wrap your counters in stainless steel or hammered copper materials. DIY experts can buy the sheet metal for themselves from hardware stores and specialist shops and cut and form it in situ to their counters.
Tile Your Surfaces
Another kitchen countertop cover idea is to cover the work surface with nice tiles. Tiles are hard-wearing and easy to clean. They can be as colourful, patterned or as plain as you like and make a functional and attractive feature worktop on a kitchen island.
It’s often best to tile onto a tiling backer board and then fit and edge this onto the work surface. The backer board absorbs moisture and stops the tiles or grout from cracking as they could on a regular wooden panel.
Apply Self Adhesive Kitchen Worktop Covers
Vinyl worktop covering is one of the easiest and most favoured methods for refreshing your kitchen counters. It’s an inexpensive option, is pretty easy to install, and there’s a huge variety of designs available. The marbled look is trendy at present, but you’ll find wood effects, stone designs, or many colours and patterns to pick from. You do need to be aware that vinyl contact paper might not be as heat resistant as other surfaces.
A Step-By-Step Guide on How to Vinyl Wrap Your Worktops Like an Expert
When considering how to cover kitchen worktops, many people choose to use vinyl sheets. Let’s look at exactly how to use self-adhesive kitchen worktop wraps to transform your current worktops.
The best results happen when you’re covering old surfaces if you take your time. Make sure you won’t be disturbed and have plenty of good light to work in.
You’ll need your chosen sticky back vinyl wrap. It comes rolled like wallpaper, so you’ll need to measure how much you’ll need to cover your existing worktop space with enough for the edges and to wrap underneath. It’s always good to order a spare if you make a mistake or need some for a future repair.
You’ll also need some basic tools. These include a measuring tape, scissors, a smoother tool or squeegee, a craft knife and silicone sealant.
Step 1: Clean the Countertops
Clean your kitchen countertops. We like to use sugar soap to remove dirt and grime thoroughly. Cut and clean any silicone around the edges.
The surfaces need to be completely clean and dry before fitting the vinyl wrap.
Step 2: Measure the Counters
Measure your counters, including enough to wrap the cover around the edges and underneath the counters. A good trick is to turn over the wrap so you can use the measures that are usually printed on the paper to mark off how much you’ll need.
Take plenty of time measuring and checking before you move on to cut the wrap. Take into account the direction of any patterns or wood grains and how you want them to appear.
Step 3: Cut the Wrap
Cut the wrap with scissors to the required sizes.
Step 4: Decide Where to Start
Choose where to start applying the vinyl. It’s best to start in a corner or against a wall.
Align the wrap, peel back a small piece of the backing, and stick the vinyl wrap to the surface. Gently push it down, working across the counter length from one end to the other and use the smoother tool to push out air bubbles as you go.
If you’ve removed your taps and are going over the holes, you can cut a small X the same size as the hole and trim it acutely later. If removing it is too complicated, it is possible to vinyl over your sink and then carefully cut the vinyl around its edge with your craft knife.
Step 5: Wrap the Vinyl to the Counter
Wrap the vinyl around the counter and tidy the edges with your craft knife. Go back and trim the edges for taps and sinks.
Step 6: Let the Glue Set
Leave the counter alone for 24 hours to allow the glue to set. You can also check for tiny air bubbles after the wrap has settled and carefully prick them with a pin and smooth them down.
Step 7: Finishing Up
Finish by reapplying silicone sealant and fitting splashbacks. Make sure you let the silicon cure properly.
Start Covering Your Kitchen Worktops
When looking at how to cover kitchen worktops, we’ve seen that there are a large number of ways you can completely transform the appearance of your kitchen.
Fitting vinyl wrap covering is one of the most cost-effective and popular methods available. Alternatively, you could consider painting, tiling or laminating your surfaces. It’s even possible to get a complete custom granite kitchen worktop cover.
Whatever method you choose, enjoy your newly refurbished kitchen worktop!