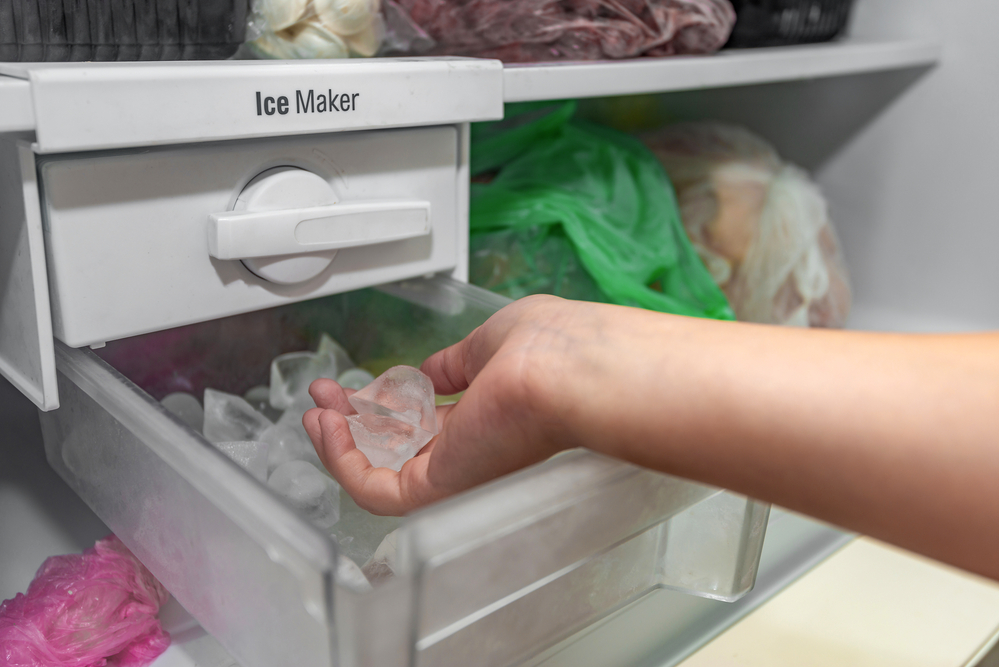
Learning how to clean an ice maker is essential for caring for your ice machine investment. An ice maker is a convenient and appealing tool for many homeowners who love sitting down with an icy-cold beverage at the end of a long day. You don’t have to worry about sipping on warm water each morning with ice makers. You can add ice cubes to any drink at the touch of a button.
Of course, you will want to make sure your ice machine is producing clean ice cubes. You don’t want to end up with ice cubes filled with various forms of bacteria that might make your freshwater taste horrible. Cleaning your ice maker regularly, whether it’s a portable ice maker or something built into your kitchen, will help keep your ice clean.
At the same time, regular cleaning ensures your ice machine unit or portable ice maker will stay in good condition for longer, so you don’t have to replace a system caked with internal dirt.
How Do I Clean My Ice Maker?
Before cleaning your ice maker, you should learn about the appliance as much as possible. How you clean a portable ice maker may be different from how you clean a model built into your refrigerator or freezer. With that in mind, read the instruction manual provided with your appliance.
In some cases, certain ice makers may include information on how to clean the device within the manual. This might involve recommending a certain ice machine cleaner. We wouldn’t advise using an ice maker cleaning solution you find online without checking if it’s safe for your portable ice maker or built-in machine first.
For the most part, you’ll find many ice makers can be cleaned using a natural ice maker cleaning solution with vinegar and water.
How to Clean an Ice Maker: A Step by Step Guide
One of the most commonly asked questions concerning portable ice maker maintenance is, ‘can I run vinegar through my ice maker?’ The answer is yes.
Running white vinegar through your ice maker is one of the easiest ways to manage the cleaning process. The solution is simple and effective, and it’s often a much less expensive cleaning process than having a professional do the cleaning steps for you. Here is how to do it.
Step 1: Prep Your Ice Maker
Start by gathering your supplies. You’ll need some white vinegar and warm water. It’s also worth getting a soft cloth, measuring cup, and a pitcher ready, where you can mix your water and vinegar to soak the system. If your ice maker is dirty on the outside, you might want some paper towels, a sponge and some soapy water for the outside.
Prep the ice maker by ensuring the machine is unplugged before you begin.
Ensure you’ve drained your ice maker of any fluid, then take the interior parts out of the ice bin or bar. This might include a scoop or an ice pick.
Step 2: Create Your Cleaning Solution
Using the proper cleaning solution with your ice maker will help you get rid of as much dirt as possible, so your ice can taste a lot better. You’ll need around ten parts warm water and 1 part vinegar to make a natural food-safe ice maker cleaning solution.
Mix your solution in the pitcher you got, and remember to avoid using dark vinegar. Although the smell of white vinegar can be strong, it won’t linger as much as if you put the darker vinegar in the system instead.
Step 3: Clean Your Ice Machine
Next, grab a soft cloth and dip it into the cleaning solution. You can begin by running the cloth over all of the accessories you would usually find within your ice maker bin. If necessary, you can place these accessories in the sink to soak in soapy water. Ensure you rinse all items with clean water before placing them back in the freezer.
If you have stubborn stains and dirt on your ice machine, you can use baking soda and a toothbrush to scrub at them. However, if you are going to be using baking soda, you’ll need to be extra cautious about rinsing.
To clean your water filters (if you have any), use a Q-tip or toothbrush to remove any buildup. You may need to soak your water line or other components in your vinegar solution to help with the cleaning process. This is why it’s extra important to ensure you use food-grade vinegar.
Clean the machine’s interior with a cloth or use a spray to get all the inside nooks and crannies within the device. It can take some time to wash and rinse everything thoroughly. However, you must wipe all of the different ice machine parts correctly. You can drain the machine thoroughly with each rinse.
Step 4: Make Some Ice
Put the filters back on your machine as normal, and replace the plug and draining cap. You can then plug the machine back into the power and check to ensure the ice maker is working properly. It’s best to keep the accessories from the unit on the side or in the kitchen sink, as you’ll need to run the machine before replacing them.
Use the rest of the cleaning solution you created (with the water and vinegar) to make some ice. Just pour the liquid into the reservoir and allow the machine to power up. The machine will process the liquid until the reservoir is empty, which will allow you to perform a full clean cycle.
You may be able to set a faster clean cycle in your ice machine using the basic steps included in your user manual. Make sure you drain any liquid and ice from the machine when you’re done with this part of the cleaning session.
Step 5: Rinse the Machine
Finally, run the machine again, using as much water as you would normally use to make ice for your drinks. Your accessories should be easy enough to wash in the sink, but you may be able to throw them in the dishwasher for a quick clean, depending on the appliance or unit you buy.
Remember to run the machine thoroughly to clean out the water supply and get rid of unwanted tastes. You may need to run and drain the machine a couple of times to rinse it thoroughly. If your ice machine is built into your refrigerator, this can take a while.
When you’re sure everything is clean, you can place each appliance back inside the ice machine in the ice bin. Make sure you leave your accessories to air dry first.
Remember that you should not use soap for the inside of your ice maker. Not only is soap not food grade, which can lead to a horrible taste in your next batch of ice cubes, but it can be dangerous too. Soap mixed with hard water can create suds in the appliance, leading to damage.
How Often Should Ice Makers Be Cleaned?
Knowing exactly how often you should clean your ice machine is difficult. Most homeowners will be able to wait a couple of months between cleaning sessions. However, if you notice your ice maker doesn’t look clean or you need to make more ice because a batch tastes off, this could be a sign you need to clean faster. Regular cleaning can be important to maintaining your machine.
Check the instructions on your ice machine for extra guidance. Most refrigerators that produce ice can be cleaned less frequently than portable ice makers. However, there are different requirements for all kinds of ice makers. If you make more ice than most people, you may need to clean your ice machine more frequently.
Make the Most of Your Ice Maker
Whether you’re using a portable ice maker or an ice maker in your fridge, learning how to clean an ice maker ensures you can get the most out of your machine.
Use the steps above to fill, rinse, and clean your ice maker regularly. Don’t forget to wipe down the outside of the ice machine regularly, just like you would with any large device you use in your kitchen.