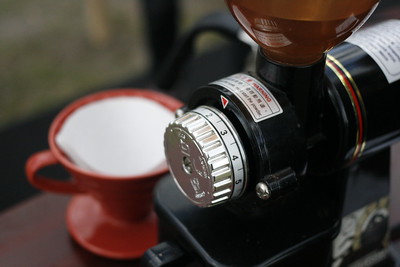
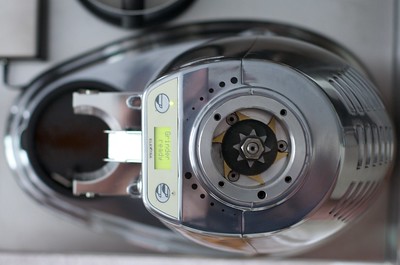
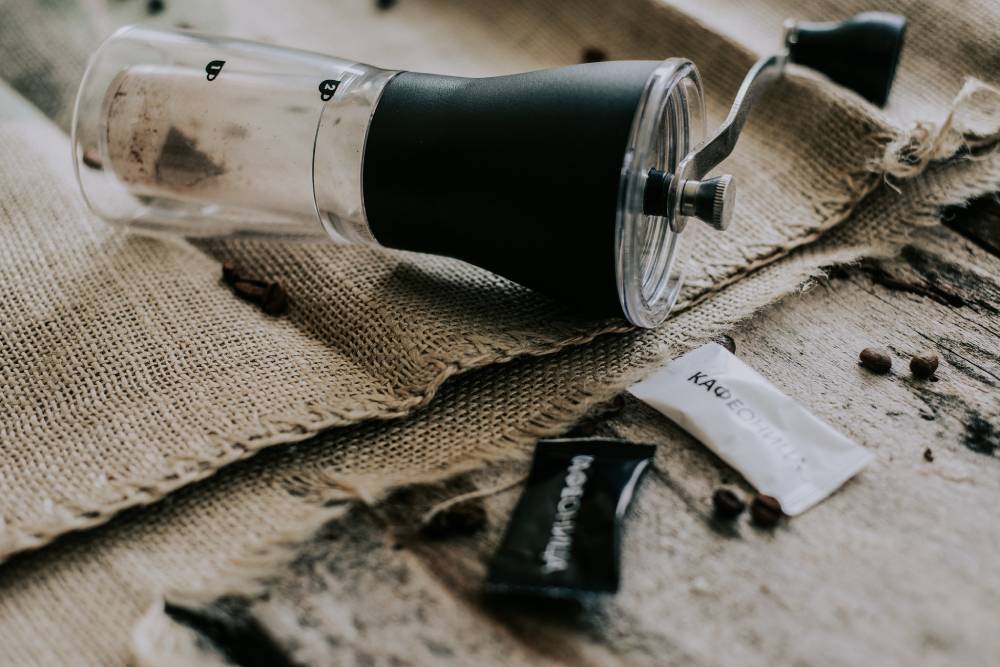
Aside from using great coffee beans, using fresh coffee grounds is one of the best and easiest ways to make a better-tasting cup of coffee at home. If you already grind your coffee, you will also want to take some time to clean your grinder occasionally.
As you use your coffee grinder, a build-up of coffee oil and other residues inside will naturally accumulate inside on the blades or burrs, especially on burr grinders because of the outer and inner burr design. Cleaning blade grinders are often pretty straightforward, but what about burr grinders?
This article will teach you how to clean a coffee grinder and takes all of the different components of a burr grinder into consideration along the way. We will also explore some common questions on cleaning a burr grinder, and hopefully, by the time you are done, you will be one step closer to achieving the perfect cup of coffee.
Getting Started: Coffee Grinder Basics Explained
How Often Should You Clean Your Coffee Grinder?
Whether you use a blade grinder or a burr grinder, using a clean grinder is critical for getting the best tasting coffee possible. So, how often should you clean your burr grinder?

Most coffee lovers recommend doing a light, routine cleaning on your grinder every time you grind coffee beans. This typically involves brushing the burrs with a soft brush to remove ground particles and leftover coffee dust. You may also want to wipe it down with a damp paper towel or cloth.
If you are grinding coffee frequently, you may also want to use commercial cleaning tablets one or two times per month to get a more thorough clean that removes some of the coffee oils.
However, we still recommend doing a deeper clean about once per month to remove internal build-up that can lead to an unusual smell if left for long periods. Keep reading to learn how to deep clean your burr grinder.
Can You Clean Your Coffee Grinder With Rice Grains?
Some people recommend using rice as a substitute for cleaning tablets, but we don’t recommend it, nor do most grinder manufacturers. Rice is harder than most cleaning tablets and could potentially damage the parts, especially on a blade grinder. Rice is also high in starch, especially in its uncooked form, and tends to leave a starch residue behind, which can be hard to remove and alter the flavour of your brewed coffee. Lastly, rice can damage the electrical components. In fact, most manufacturers won’t honour the warranty or cover any mechanical damage if you have been running rice through the machine.
Before You Begin
Before you start the cleaning process, we recommend gathering all of the supplies you will need. This will help you get the job done easier and more efficiently.
We also recommend you read through the owner’s manual. This will alert you to the specific components of your machine, can also provide you with detailed disassembly instructions, and more.
What You’ll Need:
- A dry cloth or paper towels
- Toothpicks
- Cotton swabs
- A soft brush or clean toothbrush
- Vacuum cleaner
- Soapy water
- Maybe a screwdriver for disassembly
How to Clean a Coffee Grinder: A Step-by-Step Guide
Step 1: Unplug Your Burr Grinder
The first step to cleaning electric coffee grinders involves unplugging them from their power source. This is an important part of ensuring your safety while you tinker with your coffee grinder’s burrs and inner components.
If you are cleaning a manual burr grinder, you can skip ahead to the next step.
Step 2: Dissasemble Your Burr Grinder
Once unplugged, it is time to disassemble your burr coffee grinder. This process varies somewhat depending on the specific grinder you have. Still, for the most part, you will want to remove the bean hopper, remove the upper grinder casing, remove the grinding drawer, and separate the inner and outer burr.
If you have any questions about how to accomplish this on your grinder, we recommend you refer to your owner’s manual.
Step 3: Shake Out Your Burr Grinder
Next, please pick up the main grinder housing and turn it upside down. Using one hand, tap the sides and bottom of the housing to get any residual build up out. As you grind spices and coffee beans, a fine powder will inevitably start to accumulate within the crevices of your grinder, especially if you tend to use a finer grind size. Typically, quite a bit comes out, giving you a good head start on the rest of the cleaning process.
Step 4: Clean the Burrs on Your Grinder
Cleaning the burrs on your coffee grinder could be the most important part of this process, as they come in direct contact with all of the beans while you grind. To start, use your soft brush to clean off any leftover grounds on both the inner burr and outer burr.
Next, use toothpicks to get into any crevices or tight spaces where coffee grounds may have built up. Then, finish by swiping cotton swabs in the crevices and over the surface. This will help lift any coffee oils.
Step 5: Clean Coffee Grounds Out of the Feeder Channel
Coffee grounds also tend to get stuck in the feeder channel where the ground coffee feeds into the grinding drawer or container. Use your brush to sweep out the area first, and then use a paper towel or dry cloth to wipe down the feeder channel. If needed, you can also get help from your toothpick and cotton swab tools, but they may not be required for this step.
Step 6: Clean the Hopper and Grinding Drawer
Many burr coffee grinders have a bean hopper and a grind collection drawer that will also need to be cleaned. If your grinder does not feature these components, you can skip ahead to the next step.
When it comes to cleaning the bean hopper and grinding drawer on your coffee grinder, it is pretty simple. These parts will be top-rack dishwasher safe on a gentle cycle on many grinders. You can always refer to the manual to double-check or clean them using mild dish soap and water. Lightly scrub them with a clean sponge or cloth and soapy water, and rinse them thoroughly. Make sure to completely rinse all of the soap away as it can easily alter the flavour the next time you go to grind coffee. Whether you use a machine or wash them by hand, keep track of any plastic parts or rubber parts that could easily be misplaced.
Step 7: Suck Up Any Leftover Coffee Grounds
Next, suck out any leftover grinds and coffee dust from the main housing with the hose attachment on your vacuum. While we already took the time to clean each part individually, your vacuum can often suck out unseen coffee particles and micro grounds that build up in the crevices. Again, keep track of smaller plastic and rubber parts so they don’t accidentally get sucked up by your vacuum.
Step 8: Reassemble Your Burr Grinder
Reassemble your coffee grinder once the hopper and the collection drawer are completely dry. Follow the disassembly process in reverse, and you should be all set.

Step 9: Clean the Exterior of Your Burr Grinder
To finish the cleaning process, wipe down the exterior of your coffee grinder. You can use a damp paper towel or cloth to get most of the work done, but we recommend using cotton swabs to get into any smaller spaces and crevices. Often, water will do the trick for this step, but you can also use soapy water if you want. Just make sure the cloth is damp, not wet.
At this point, the deep clean process is officially complete. However, if you want to go above and beyond, you can test your work and season the burrs, which we describe in the next step. Seasoning the burrs on your grinder helps to get them ready for future brews and also ensures that you put your grinder back together correctly.
Step 10: Season the Burrs and Grinder (Optional)
You will season your grinder with spare coffee beans for the final step. This will help remove any lingering flavour from the cleaning and adds a bit of oil back into the machine so it functions smoothly. You have to add a small number of spare beans to the machine and grind them up. Once complete, throw them out, and you are all done!
Give Your Coffee Grinder a Good Cleaning Today
After reading through our detailed instructions on how to clean a coffee grinder, you should be all set to keep your grinder clean. Just remember, if you remember to do a routine cleaning after every use, you can prolong the time between the need for a deeper cleaning.
If your home grinds a lot of coffee, you will still want to deep clean your grinder about once a month to ensure you get the best-tasting, freshest coffee every time. What are you waiting for? A clean coffee grinder awaits!
If you have questions or need more tips on upgrading your coffee-making skills, let us know in the comments below. And don’t forget to check out our blog regularly, we have new how-to guides and kitchen tips every day!

