Have you ever wondered, “How does a filter coffee machine work?” Has your curiosity led you down the rabbit hole of opening your appliance to see what’s inside?
Isn’t it surprising that most of us use filter coffee machines daily, yet there is a lot that we don’t know about their mechanisms and how its brewing method creates a delicious cup of coffee?
Today we will discuss how drip coffee makers work. So, if this has caught your eye, read on to quench your curiosity.
What Is a Filter Coffee Machine?
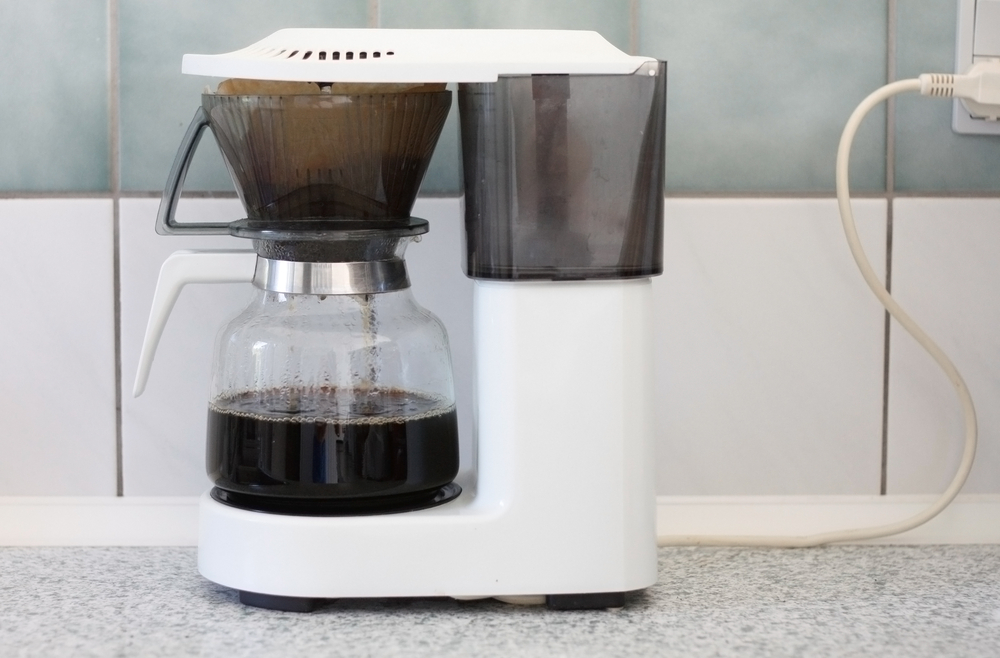
This is a manual or automatic appliance used to prepare coffee using the filtration or the drip method. When using this appliance, you must place your preferred coffee mesh or paper filter in the filtration chamber and then place your coffee ground.
Then you are required to place the required amount of water in the appliance’s reservoir and let your appliance go to work. So this describes a drip/filter coffee maker.
How Does a Drip Coffee Machine Work?
Let’s look at how different components of a drip coffee machine work.
Reservoir
This part holds your brewing water into the pot before the brewing process begins.
The reservoir tank comes with a hole at the bottom and a white tube that leads from the reservoir’s base to the drip area.
This tube is designed to carry hot water to the drip area of the coffee maker. It also comes in handy when cleaning your appliance.
Shower Head
This is the component that receives the hot water normally carried by the white tube. Once the hot water reaches the showerhead, it is sprayed on the coffee grounds.
Drip Area
The drip area usually is not found in all drip coffee makers; however, if your model has one, water flows from the white tube onto the drip area and flows through its holes, thus reaching the ground coffee.
Heating Element
The heating element of a drip coffee maker is typically located on the left side of the unit’s base. It always comes with an aluminium tube divided into a resistive heating element and a white tube that allows water to flow through.
Water in a drip coffee maker is usually heated using a resistive heating element and an aluminium tube.
On the other hand, inside the resistive element sits a coil embedded in plaster to make it more rugged. That being said, it’s worth noting that the heating element heats the water for brewing coffee and keeps the brewed coffee warm.
Heat Transfer in the Heating Element
Heat is transferred in the heating element using the resistive heating element between the aluminium water tube and the warming plate.
This element presses against the lower side of the coffee maker’s warming plate directly. Also, it presses against the white heat conductive grease that ensures effective and constant heat transfer when coffee is being brewed.
The Switch
Ideally, this is the button used to switch the coffee machine on and off. Some coffee machines come with automatic sensors that switch off the coffee machine when it starts overheating and also switch on the maker once the coffee starts getting cold.
Also, these sensors located at the switch of these appliances come with a feature known as boil-dry protection that protects your filter coffee maker from burning when empty.
Using a Filter/Drip Coffee Machine
Let’s look closely at how a filter coffee machine works with this step by step guide for brewing a cup of coffee.
Step 1: Prepare the Materials and Equipment
You will need the following:
- Ground coffee
- Mesh/Paper filters
- Water
- Drip coffee maker
Step 2: Add a Coffee Filter to the Filter Basket
Start by placing your preferred filter in the filter chamber of your drip coffee machine. Bear in mind that it’s advisable to use generic filters since cheap or standard version filters are less consistent in delivering good results.
That said, it’s worth mentioning that most drip coffee makers come with mesh filters. Inbuilt mesh filters boast of being environmentally friendly, but they also usually enhance the coffee’s flavour compared to a paper filter.
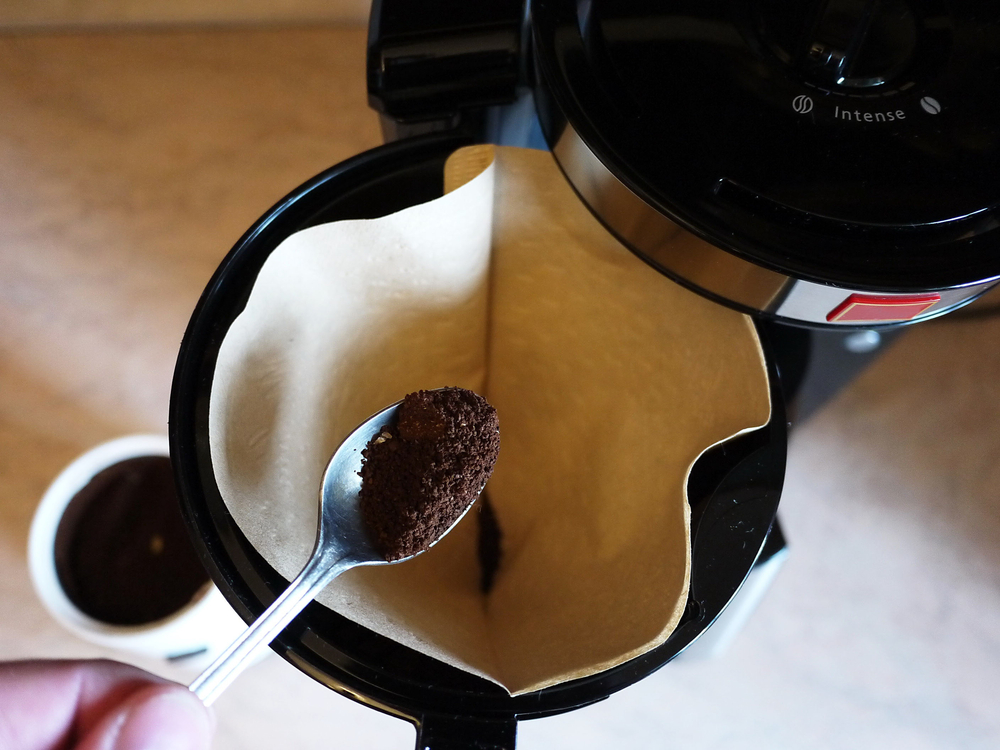
Step 3: Measure Out the Coffee
Step two-measure out your preferred amount of ground coffee and place it in the filter. However, note that the more coffee you’ll want to brew, the more ground coffee you should put in the filter. Also, the amount of coffee you will be brewing will depend on the type of appliance you own.
Keep in mind that a standard ratio is approximately two tablespoons of coffee for every six ounces of water. Alternatively, you can fill your coffee filter with one full coffee grinder lid if you want to brew approximately six ounces of water. But if you’re unsure of the ratio, it’s always advisable to consult the coffee makes manual before deciding the ratio of water and coffee.
On the other hand, some unique coffee blends tend to have the ratios indicated on the package. At times, most coffee makers come with a scoop also included in the purchase. So before making your ideal cuppa read the instructions before brewing the coffee.
Step 4: Measure Out Enough Cold Water
If you don’t have a measuring jug, you can use the measuring lines on the coffee pot. Alternatively, you can use the measuring marks located at the side of your coffee maker. Once you have your desired amount of water, pour it from the coffee pot into the coffee maker’s tank located behind or above the filter.
On that note, avoid pouring water directly into the filter basket. Ensure that you pour water into the compartment that is ideally meant to hold water for brewing coffee. Now place back the coffee pot back on the warming plate.
Step 5: Start Brewing
Now that everything is in order, plug your coffee maker into the power supply. And depending on the model you own, your drip machine can automatically brew coffee. Or you may be required to adjust the manual setting for the brewing process to begin.
Furthermore, you can wait for the drip coffee maker to brew the coffee entirely before pouring the brewed coffee into your cup. Or, if your coffee maker comes with a pause function, you can pause the brewing process and fill a cuppa for yourself before the brewing process is complete.
Step 6: Clean Up
Now that you have your brewed coffee ready, it’s time to clean up. If you use your mesh filter to brew the coffee, you can throw the coffee grounds away and wash the filter. You can look for an airtight container to store your ground coffee for recycling purposes. On the flip side, if you’re using a paper filter, throw it away after the brewing process is complete. Bear in mind that it’s advisable to clean your filter immediately since the more the coffee ground remains on the filter, the bitter your next cuppa might be.
What’s the Difference Between Pour-Over and Drip Methods?
While filter coffee is made by pouring filtered water through ground coffee beans that sit in a filter, gravity pulls the hot water through the ground coffee. And the filter ensures that the oils and flavour compounds of coffee are extracted to create a delicious and aromatic brew.
On the other hand, drip and pour-over are methods of making filter coffee. With the pour-over method, you will be required to pour water over the ground coffee beans manually. However, when it comes to the filter/drip method, a drip coffee maker is used to prepare the perfect cup of coffee for you.
Making the Most Out of Filter Coffee Machines
Now that you have the answer to “How does a filter coffee machine work?” you have a little more understanding of how this seemingly simple kitchen appliance makes good coffee each morning.
Do you use a filter coffee machine at home? Tell us about your experience in the comments section. And don’t forget to check out our other how-to guides for more coffee-making tips and tricks.